
Breakfast meal prep is a sanity-saver in my house. Waking up never felt so good! If you struggle to get a healthier, warm breakfast on the table for your family, try this method of making breakfast for a few months and see if things improve!
I have always loved breakfast. I grew up on cold cereal and milk and the occasional instant oatmeal packet for breakfast. Like, my mom rarely made breakfast for me or my siblings.
But then I became a mom and I wanted to make healthier breakfast choices for my kids and myself. Before I knew it, breakfast became my least favorite meal of the day. Don’t get me wrong, I still love eating breakfast. But now it’s the making of the meal that I hate the most.
We fell into a breakfast rut over the last few months because we had eliminated dairy, gluten, and sugar from our diets for a time. Our choices for breakfast were far fewer. My kids complained when I made delicious things like fried eggs served on a corn tortilla with salsa. We ended up rotating between scrambled eggs with fruit and oatmeal. Believe me, it got boring, and the complaints were unreal.
Even though we’re still trying to avoid dairy, gluten, and sugar as much as possible, we occasionally eat foods with them now. Thank goodness, because breakfast meal prep is a lot easier when I have some options!
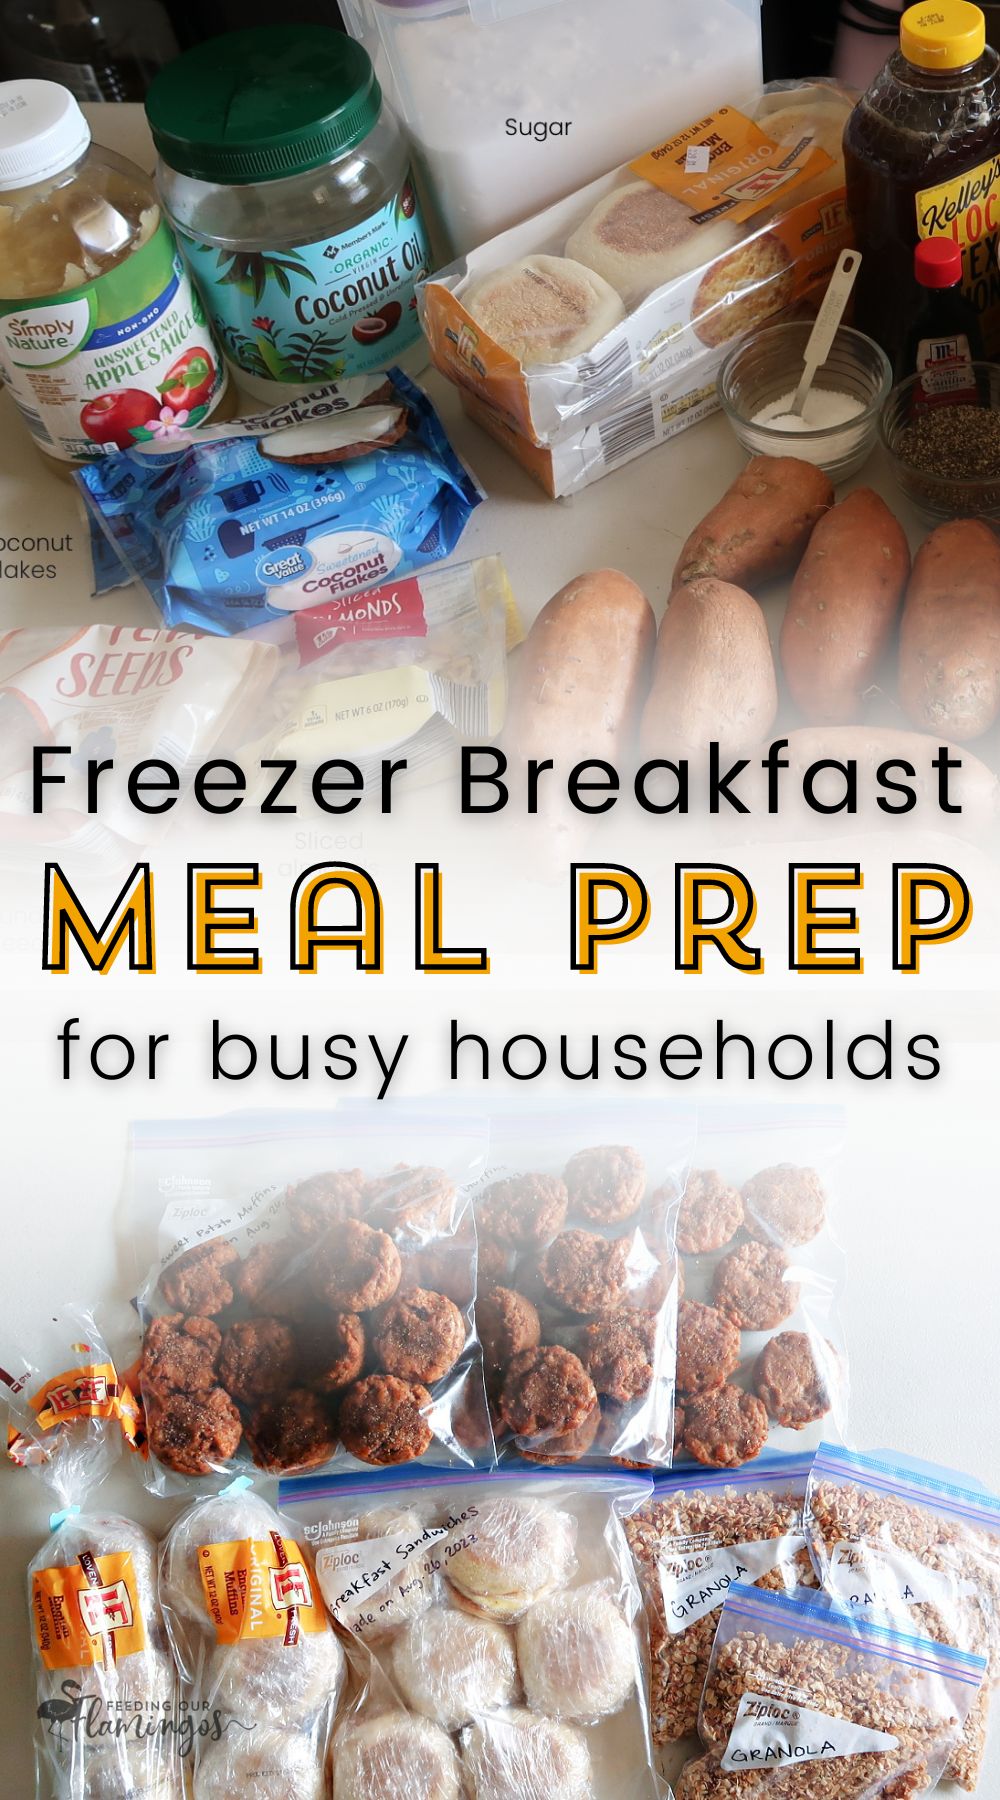
If you’ve been needing some breakfast inspiration or you want to fill your freezer with delicious breakfast items you can turn to on busy mornings, I’ve got your back. Let’s get right into this breakfast meal prep session!
Benefits of Making Freezer Breakfast Items
On an average morning, I spend about 15-20 minutes preparing something for breakfast. Most of the time it’s either eggs or oatmeal, like I mentioned before. I love the mornings I get to pull something out of the freezer, because they’re ready to eat and it takes mere minutes to serve them.
Let me share with you some benefits of having a meal prep breakfast session every so often:
- You can sleep in just a little bit later!
- You don’t have to wonder what to make for breakfast, it’s already made!
- You get to cook at a more convenient time, when you’re more awake, lol
- Because you are batch cooking, you’re actually spending less time cooking a single meal
For me, there’s a noticeable difference between the mornings that we eat something from a breakfast meal prep session and mornings when I have to cook. I just enjoy mornings better when I don’t have to cook!
How I made 17 breakfasts in 3 ½ hours
Okay, this actually isn’t that impressive sounding when you do the math. For full transparency, I spent 215 minutes total (3 hours and 35 minutes) on this particular meal prep session. Per meal, that is about 13 minutes (215 divided by 17 meals). That only saves me about 2-7 minutes per meal since I cook on average about 15-20 minutes on most mornings. However, we have to factor in cleanup as well, which can add another 5-10 minutes on top.
So conservatively with cleanup, I am saving about 7 minutes each meal. Over 17 meals that’s a savings of nearly 2 hours! And on the high end I’m saving about 17 minutes per meal which is 289 minutes (nearly 5 hours)! Either way, batch cooking is truly amazing at helping you save time.
Honestly, though, this whole process is less about time-saving for me. Make-ahead breakfasts are sanity-saving. I love having something ready to go so I don’t have to lift a finger when I feel like a zombie, lol.
Now that little detail is out of the way, let’s get onto the nitty-gritty of this breakfast meal prep session!
My First Experience with Breakfast Meal Prep
We already established that I believe this meal prep has saved me lots of time on future mornings. Now let me tell you what I made, how much I made, and what I’ll do differently next time.
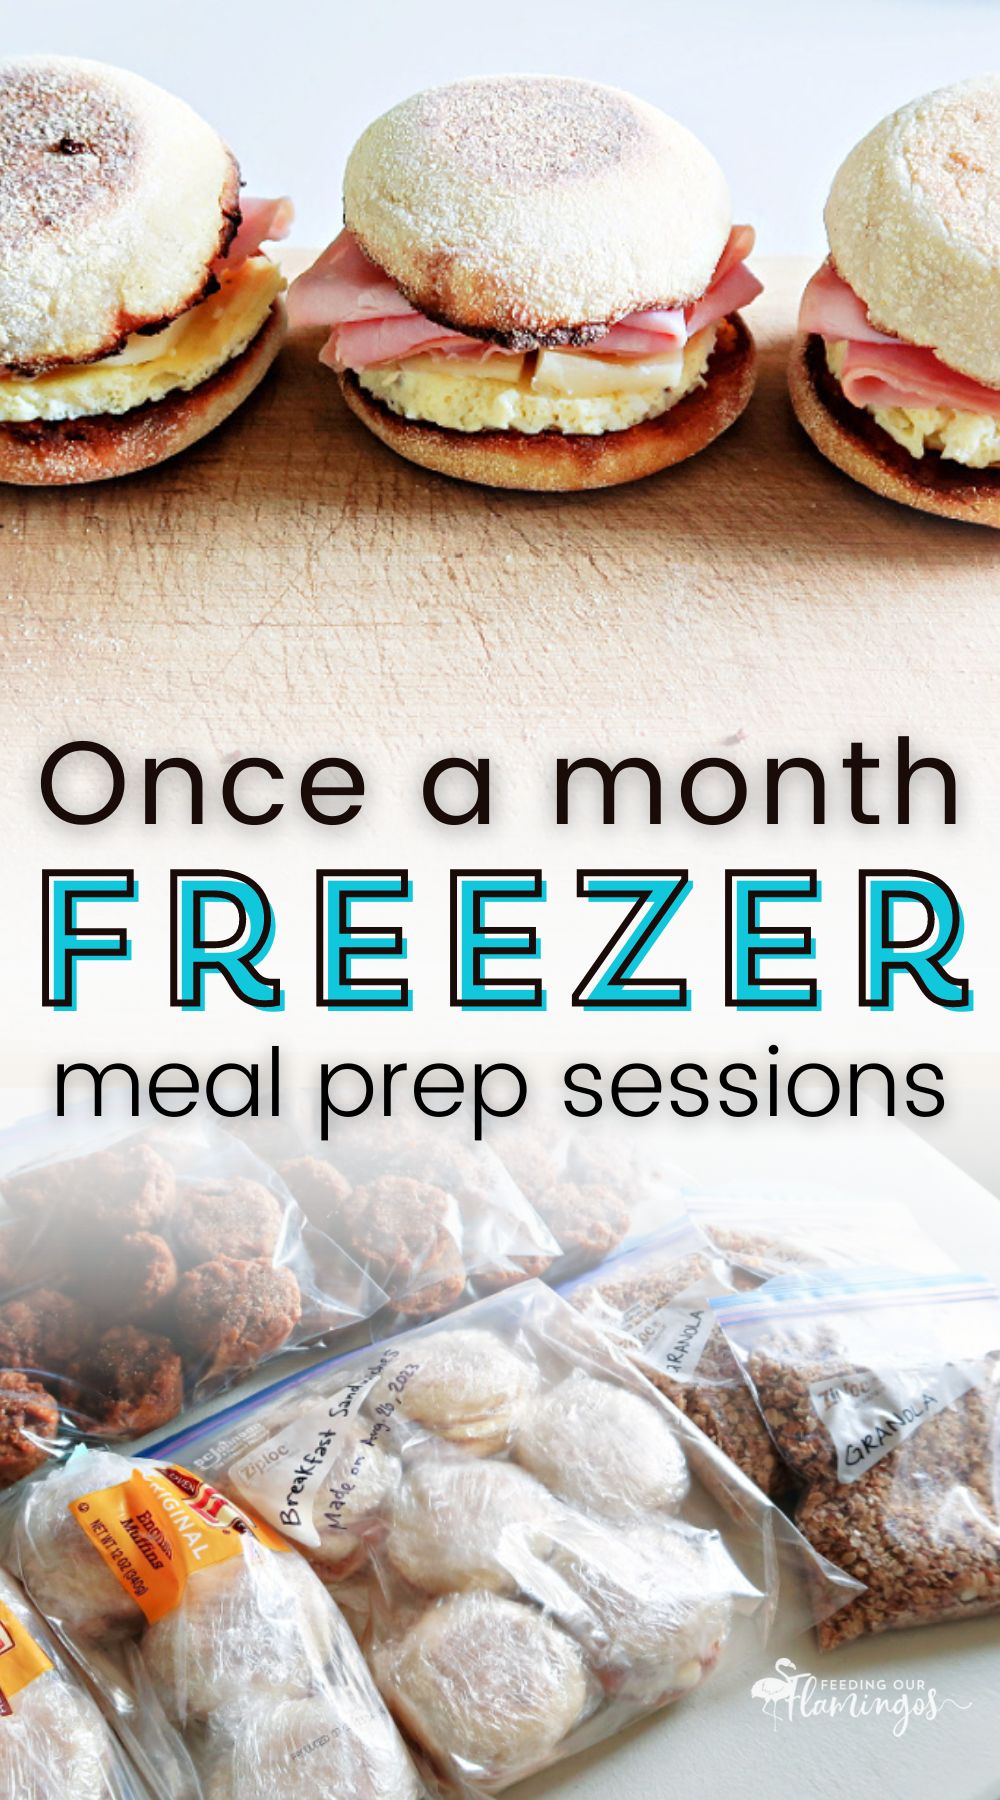
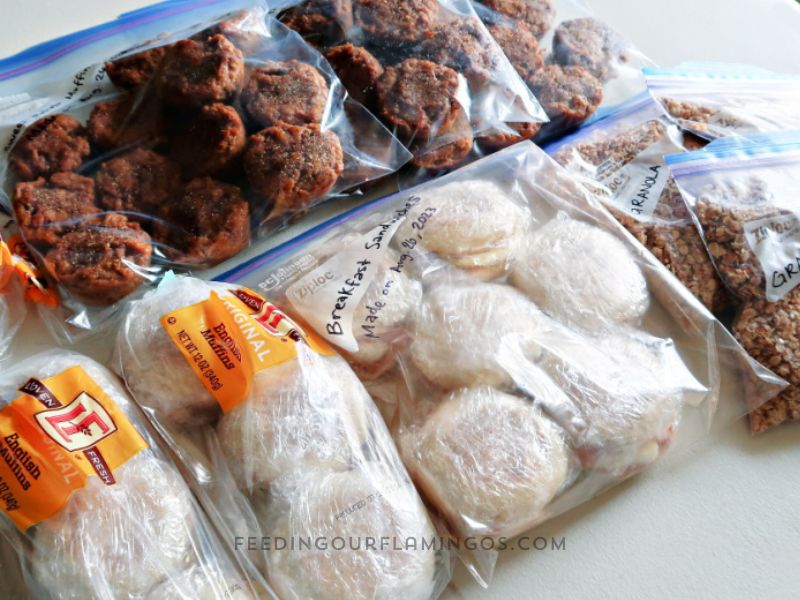
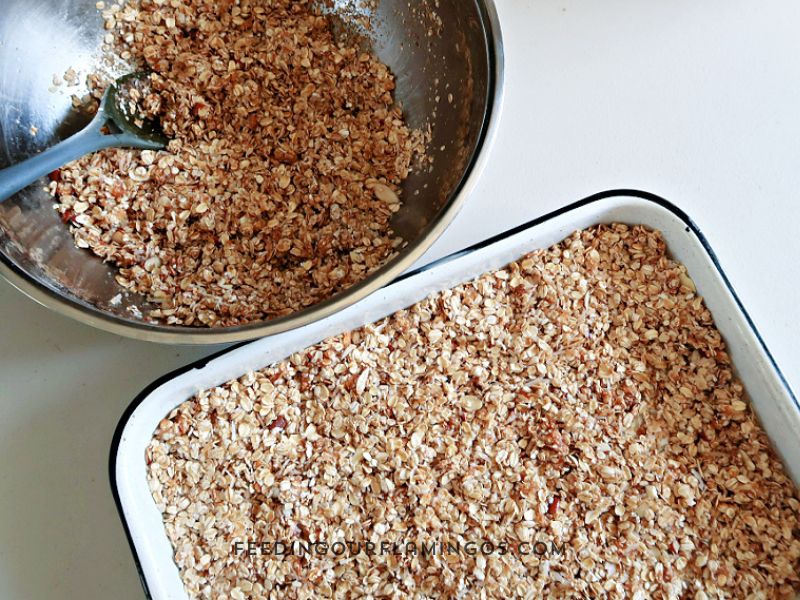
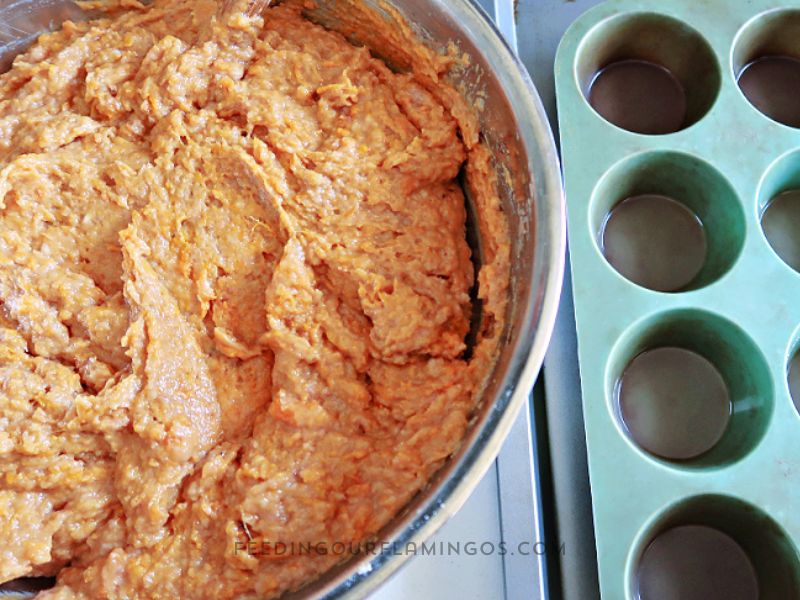
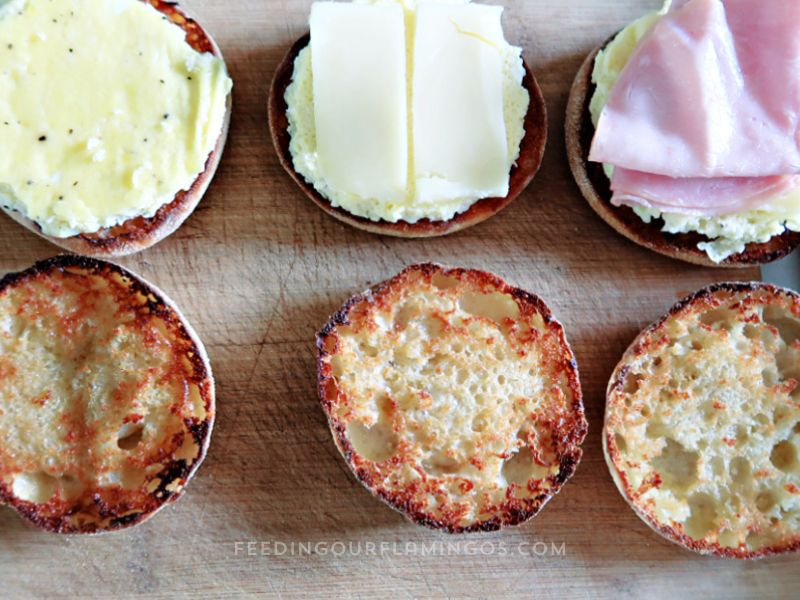
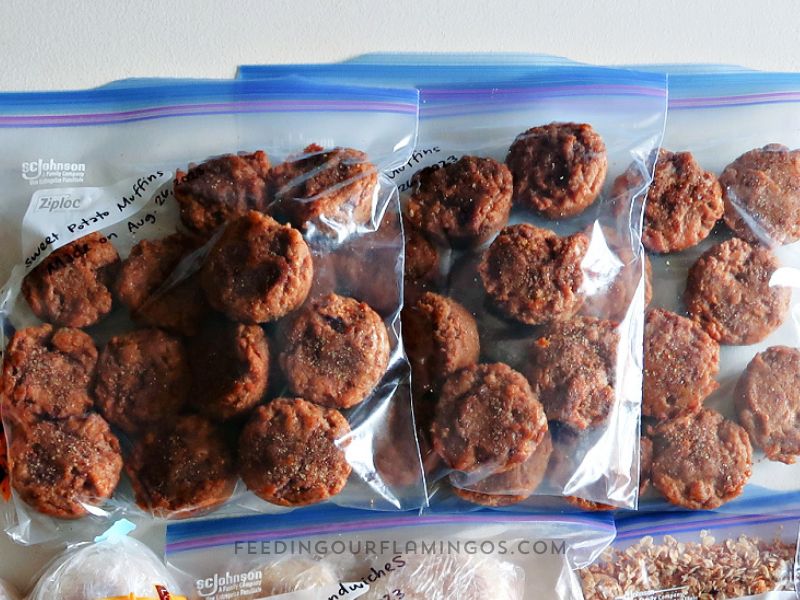
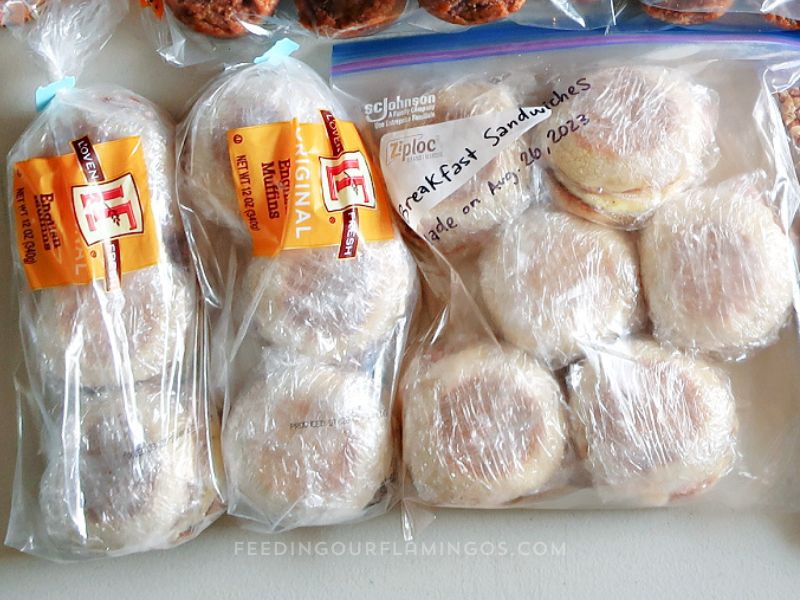
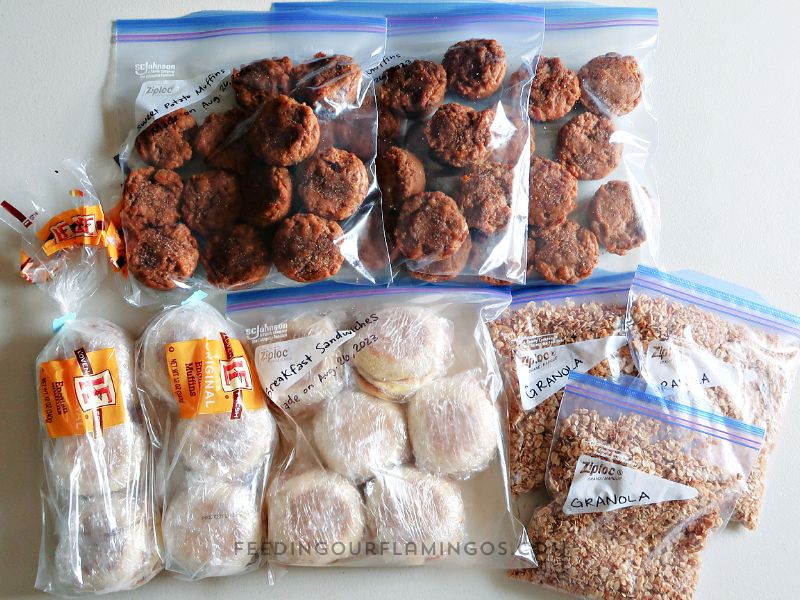
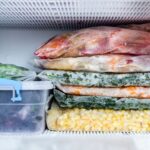
I made 3 different meals for this freezer breakfast meal prep: breakfast sandwiches, granola, and sweet potato muffins.
I made 12 breakfast sandwiches (enough for 3 breakfasts at my house), 4 quart-sized bags of granola (enough for about 6 breakfasts), and 32 muffins (enough for 8 breakfasts).
I would definitely do this again, but next time I will choose 3 recipes that have different methods of preparation. The ones I chose for this session all needed the oven.
The hands-on time was not that long, but for everything to be completely done and put away it was about 6 hours total. I started at 1:30 in the afternoon, and I was still switching things in and out of the oven at dinner time. I finally finished right around 7:30 in the evening.
10 Steps for a Successful Breakfast Meal Prep Session
Alright, finally the part you’ve been waiting for. Let’s make some breakfast!
Step 1: Decide what you’re going to be making
If you’re new to meal prep, start with just 2 or 3 recipes you want to make. I decided on 3, but I wish I had done just two to start. Once you get good and really efficient over several months, try adding another recipe to the mix.
Step 2: Choose the date and time you’ll be doing the meal prepping
You want to do this meal prep thing on a day when you have almost nothing else to do. I like Saturdays because we usually have a very flexible schedule on those days.
Step 3: Go shopping for everything
Okay, obvs. But, seriously, the day before or even a few days before, go shopping for everything you’re going to need. You don’t want to be in the middle of a freezer cooking session and not have something important.
Step 4: Print out the recipes
My recipes are all in my Plan to Eat app, so I normally follow recipes on my phone. But when you are doing a freezer cooking day, printing out the recipes will be so much better than switching back and forth from recipe to recipe on a device.
Step 5: Decide how you’re going to do things
Write down a general idea of what you’ll start with and what will follow. It can change as you go, but it’s nice to have somewhat of a plan to help you stay on track.
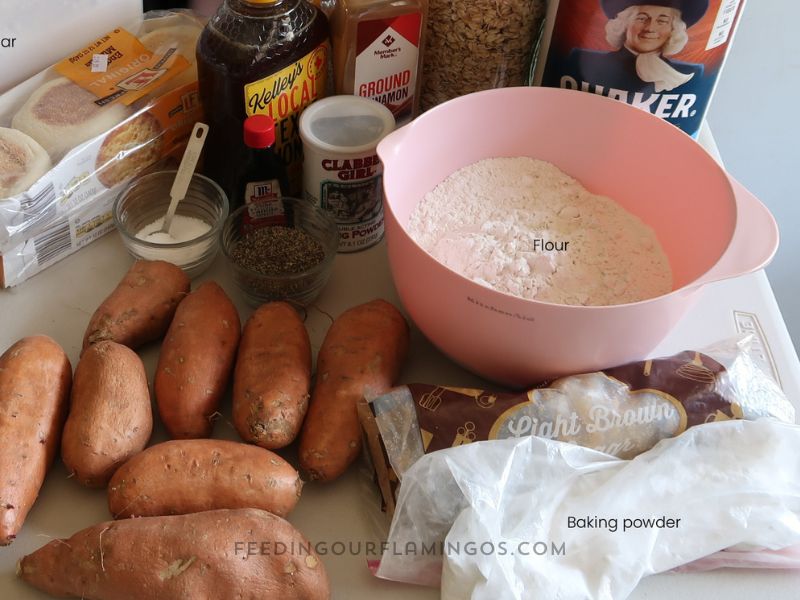
Step 6: Get everything out
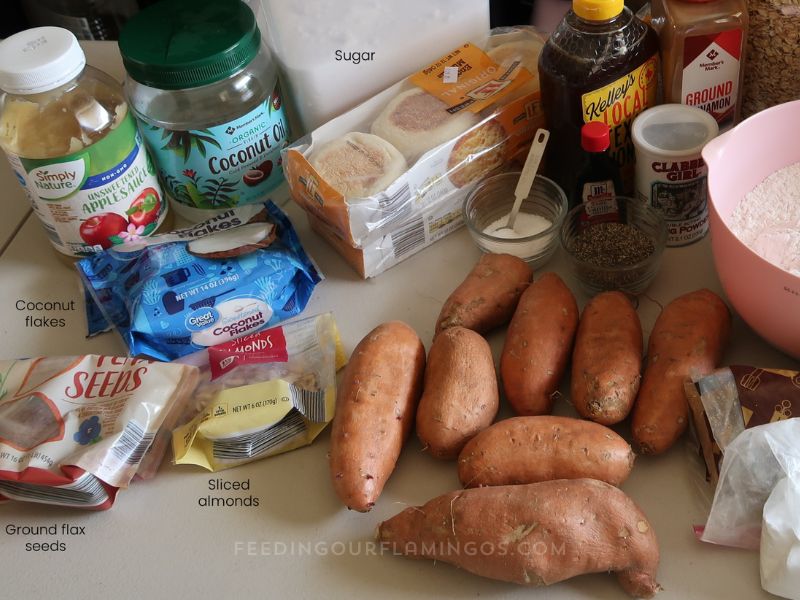
I got almost everything out at the beginning of the session. I decided not to get out items from the fridge until I needed them.
Step 7: Start following your plan
The hardest part is just getting started, so once you’ve started you’re more likely to follow through and finish.
Step 8: Clean as you go
I took a number of breaks during my cooking session to clean. Towards the end the breaks got much longer because all I had left to do was rotate things in and out of the oven and package things up. You shouldn’t have a pile of dishes at the end unless you decide to power through without any breaks. I don’t have a large kitchen or a large dishwasher, so I find that this method works well for me.
Step 9: Package everything up
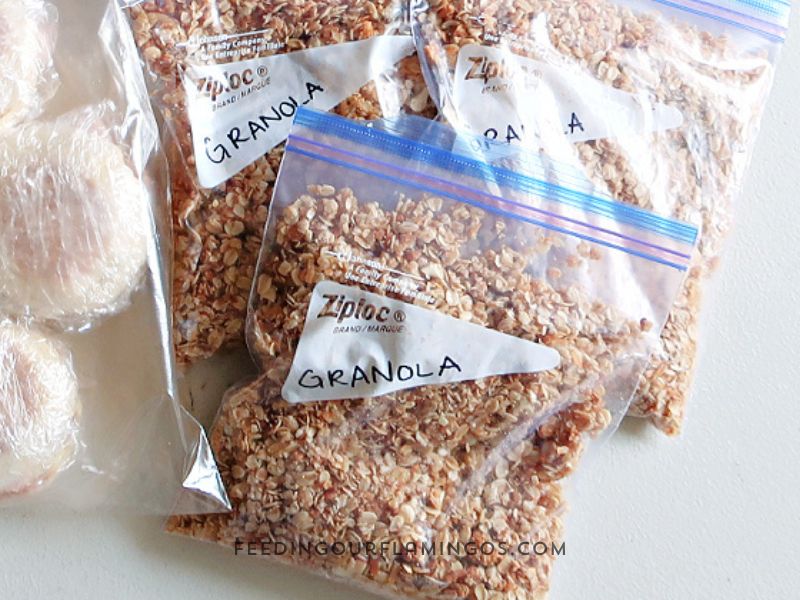
Once everything is cooked/prepped and cooled, package it according to how you’ll be storing it and then put it away.
Step 10: Be amazed at what you accomplished!
Even if you just prepped a few breakfasts for the week, take a moment to reflect and look at what you just accomplished. It’s an amazing feeling to be prepared!
Now that you know how to do your own breakfast meal prep session, I just know your wheels are turning with all the delicious ideas you want to cook up!
Related Posts
 Is Breakfast Freezer Meal Prep Really Worth It?
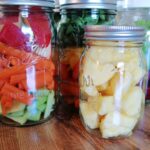
- Meal Prep Juicing Jars – for a Healthy, Easy Breakfast!
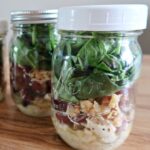
- Make-Ahead Chicken and Spinach Mason Jar Salad
- This Cooking System Could Save You Loads of Time During Busy Weeks
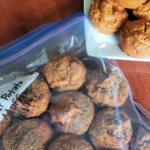
- Sweet Potato Muffins {Egg-Free, Dairy-Free} You Can Double and Freeze
- Easy Instant Pot Bone Broth Recipe


- Versatile and Flavorful Pumpkin Chicken Soup - 01.03.26
- Easy Instant Pot Bone Broth Recipe - 09.20.25
- Healthy Make-Ahead Tomato Onion Salad Jars - 07.11.25
Your niece and nephews will be so grateful for the nudge to help their mom get out of her breakfast rut! Once upon a time I made muffins every Monday and [almost] everyone looked forward to it! I too love eating breakfast but dislike making it. Your math was definitely convincing.
A little more sleep for me + content tummies & happy kid faces as they leave = ☺
I’m going to start with breakfast burritos and pumpkin muffins….
Ooh, yum! I’m sure they’ll be very happy to have some delicious options for breakfast throughout the week. Now if only we lived really close, I’d love to do a breakfast meal swap!