When you have almost no time to cook, you also have even less time to organize, right? But getting in your kitchen to organize your fridge every week, or, at the very least, every few weeks, can make a big difference. An organized fridge = a happy cook = a happy home 🙂
Why should you organize your fridge?
You might think that organizing your fridge is for people who have time, but it’s actually for people who don’t have time. Why is that?
Cooking Is Faster
If you have an organization system in your fridge, you will know exactly where an ingredient is at a moment’s notice and you can easily put it back just as fast.
When I am trying to cook something quickly, the last thing I want to do is spend an extra 2-5 minutes pulling things out of the fridge to get to all the ingredients I need and then put everything else back before I can start cooking. It’s a major pain, to say the least. It also puts me in a bad mood. Snapping at my children while I cook is never easier than when my fridge is highly unorganized.
Grocery Shopping Is Faster
When you know what’s in your fridge, you’ll waste less time grocery shopping because you won’t need to buy duplicates of things (i.e. another container of yogurt).
Part of organizing your fridge includes taking inventory, so you will know what you have in your fridge while making your shopping list. You can also use this knowledge of what you already have to plan several meals for the coming week.
The best time to organize your fridge is the day before you go grocery shopping. It’s the perfect time because you have extra room in the fridge for anything you will be buying and you can use your inventory to plan meals around.
Eating Healthy Is Easier
And, finally, when you have an organized fridge, you can feel better about cooking healthy food since you are more likely to actually eat it. When you have an unorganized fridge, all your food is kind of just shoved in there and blends in together. By the time you want to eat salad, by the time you actually find it in the back of your fridge, it’s no longer fit to eat and you will give up and head out for take-out instead. When you are trying to give your family good, healthy food you really need fresh stuff. Nobody likes wilted salad and bruised apples.
Keeping tabs on the food in your fridge and making sure it stays organized can both be major time-saving sanity savers. But how do you get it organized in the first place?
How to Organize Your Fridge
There are several steps to organizing your fridge, especially if you haven’t done it in a while. I would suggest going through all of these steps the very first time you organize your fridge. You can skip step 3, the cleaning part, if you don’t have any spills in your fridge to clean up. You can certainly adjust for your own situation, but that is a general guideline.
Before you start, turn on some upbeat music to make the time pass quickly.
Oh, and if you’ve got small kids, do this while they are sleeping or at preschool. The process will take even longer if they are at your feet and constantly need your attention. Of course, it could be a great teaching opportunity to show them how to clean and organize the fridge. In that case just know it’s going to take more time.
Now we’ll go through each step below in detail or you can watch the video at the bottom if you don’t want to read.
Step 1: Clear off a counter and/or table
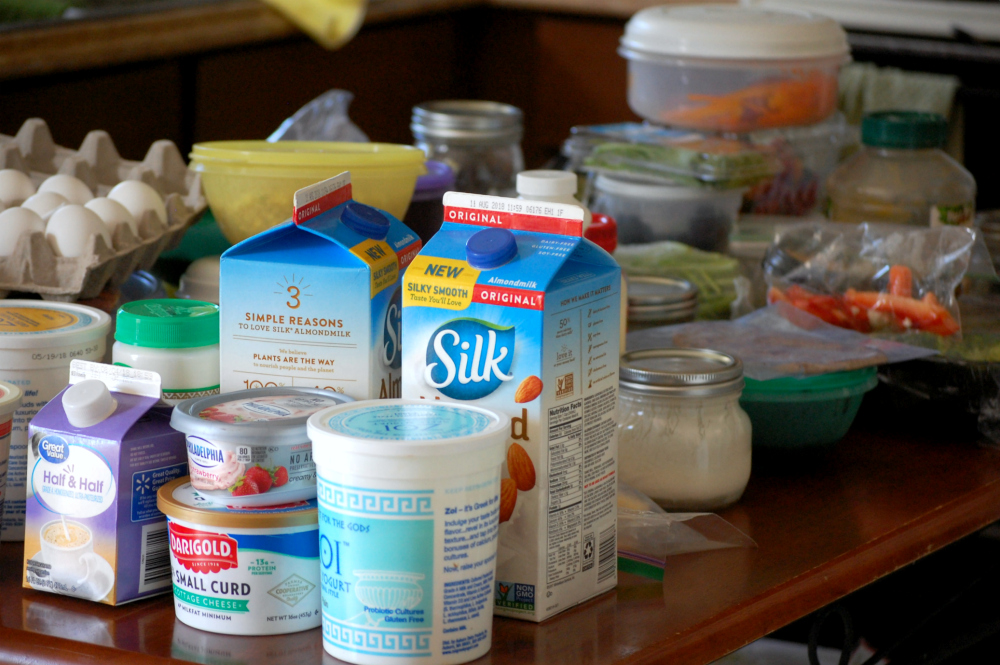
Before you even open your fridge, you need to make space in your kitchen to put all the food in your fridge. If you have a large fridge, you’ll need at least a counter and your kitchen table. I have a pretty small fridge and I used two tables to put all my food on.
Step 2: Take everything out
Now for the fun part! 😉 Start taking everything out of the fridge and put it on your cleared-off counter and/or table. Try to put things into categories as you do this (all condiments in one spot, all vegetables together, etc.). It’ll make things a whole lot easier when you’re ready to put everything back in.
Step 3: Clean the fridge
Once everything is out (don’t forget to check the butter compartment!) you can give your fridge a nice scrub-down. You may want to unplug the fridge if you think it will take a while. When I clean my fridge, I don’t usually unplug it because I’m lazy like that. #truth But, you do what you think is right.
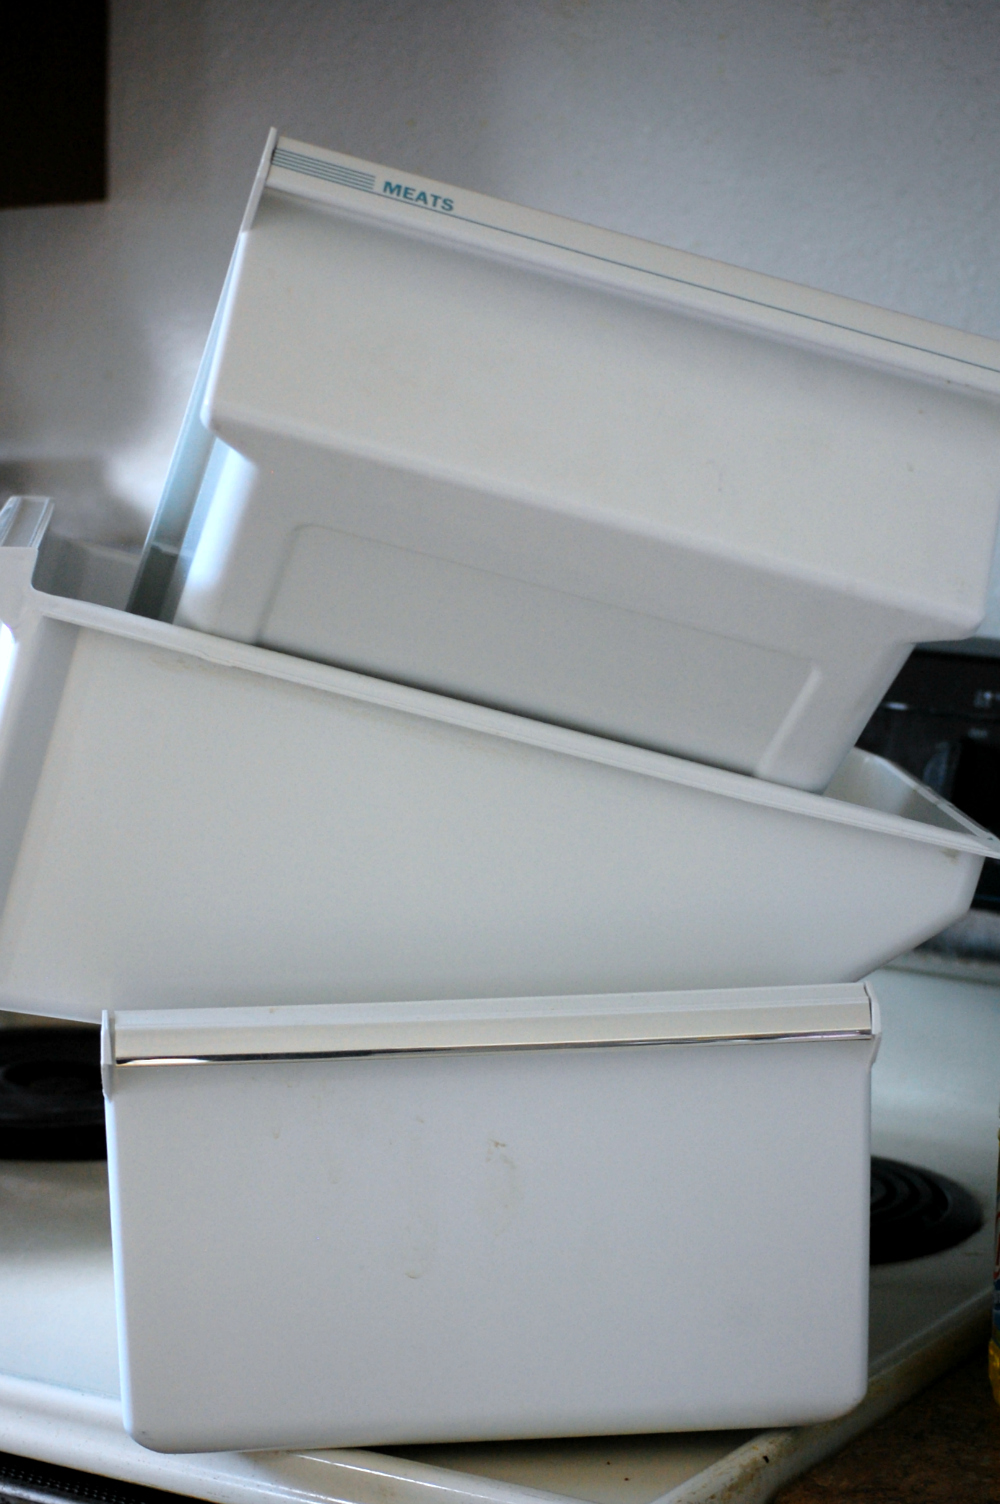
Begin by removing all your drawers and any shelves that need more TLC so you can easily see the state of your fridge. If it looks really bad, you probably want to spray your choice of cleaner and let it sit for 5 minutes before you start scrubbing.
I use good ol’ vinegar and a rag to clean my fridge, and it takes me about 20 minutes or less.
Now would be a good time to also clean the outside of your fridge since you are already in cleaning mode.
If you unplugged your fridge before, be sure to plug it back in now that you are done cleaning.
Step 4: Throw away anything questionable or expired
Now that you’ve cleaned your fridge, inside and out, you can get back to the food that is sitting out on your table and counter. Take a look at everything you have, one-by-one, and throw away expired items, moldy food, slimy lettuce, etc. Only keep something questionable (i.e. it’s not quite bad yet but you know it will be in a day or two) if you’ll be eating it ASAP.
Step 5: Take inventory
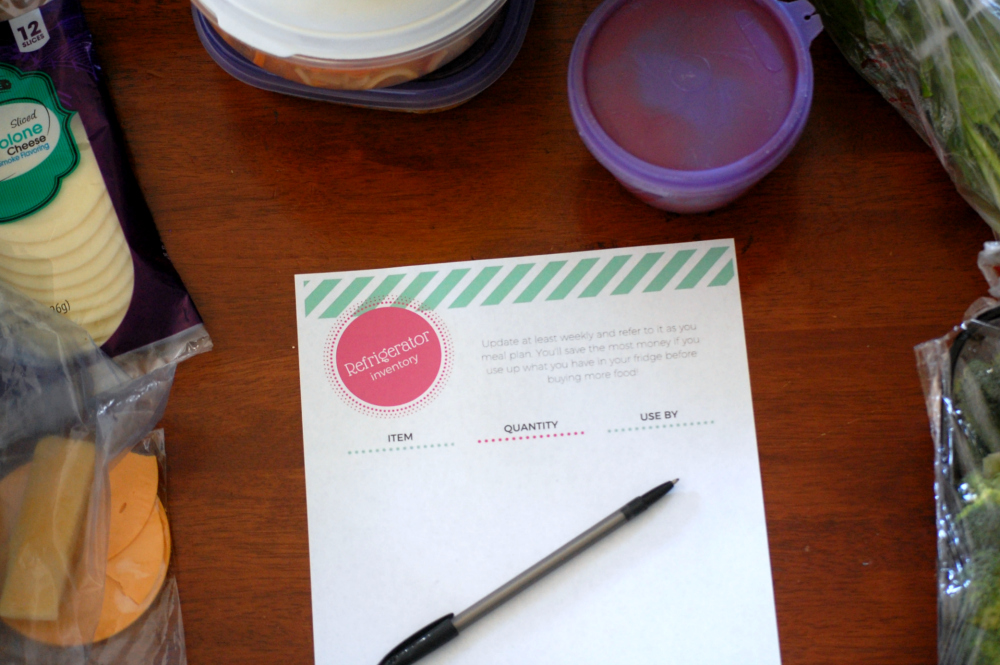
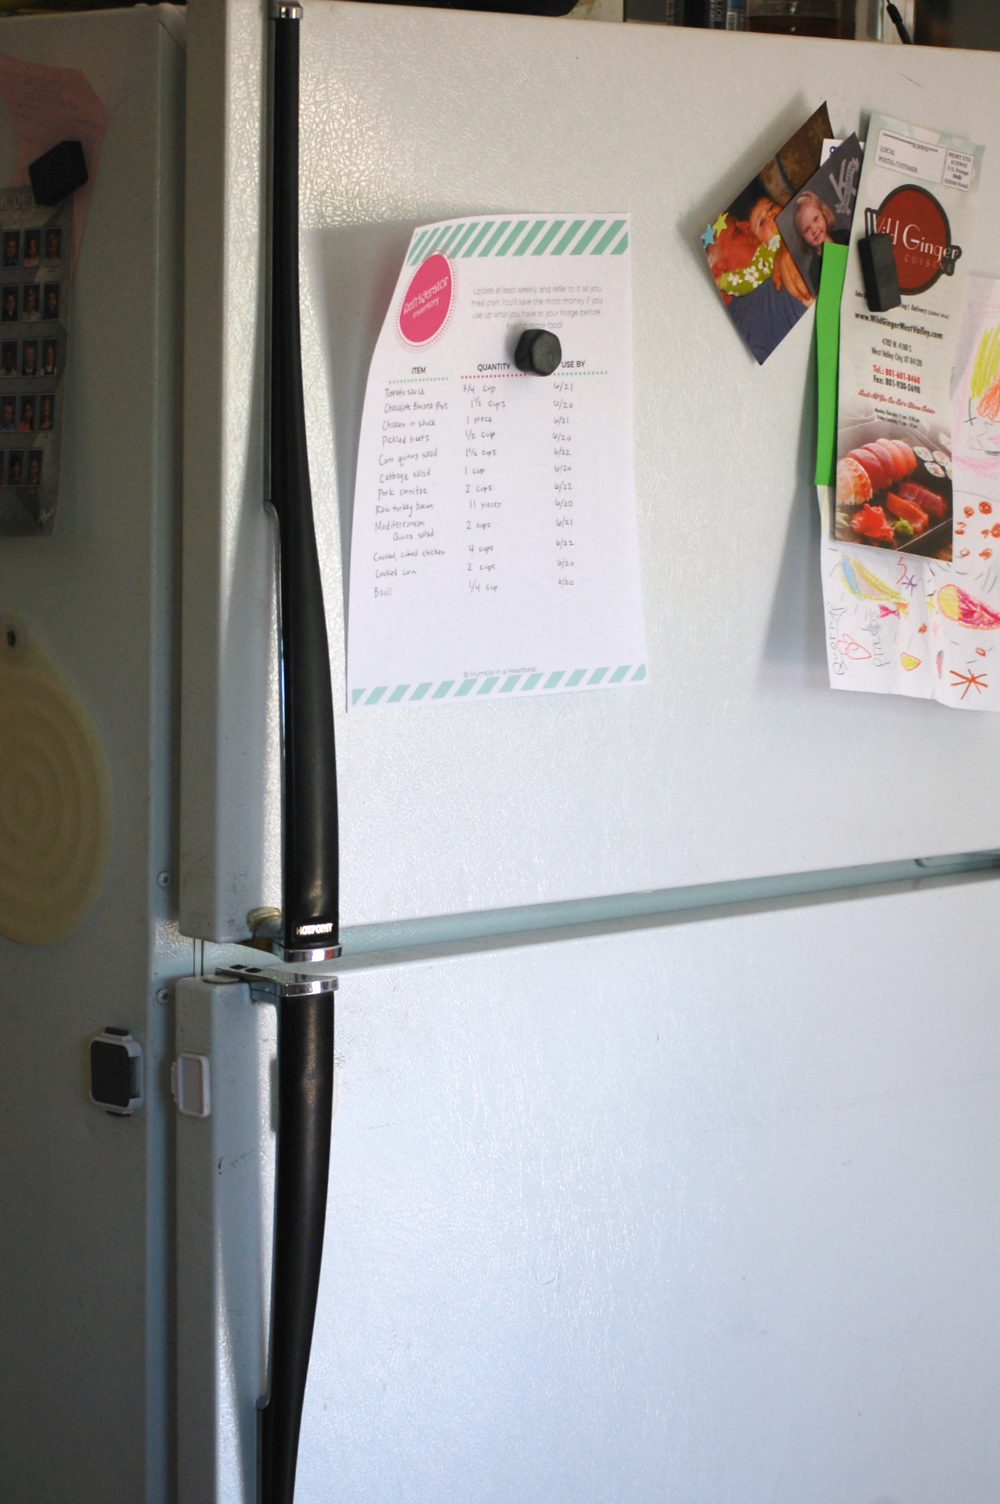
Now you can print out a refrigerator inventory sheet (found in THIS post), put it in a clear sheet protector, and start taking inventory of what you’ve got. If you don’t want to print out a refrigerator inventory sheet, you can use your phone or a piece of paper to take note of what you have. You just need to list the item, how much of the item there is, and the date you should eat it by.
I only take inventory of food that I know we need to use within a week, sometimes two. Be sure to list all your leftovers, raw meat, and vegetables on your inventory. Condiments don’t usually make it on my inventory list.
While you are doing this process, keep a damp cloth with you so you can clean up any messy containers or bottles before you put them back in the fridge. You just cleaned the fridge, so you don’t want to make it icky right away!
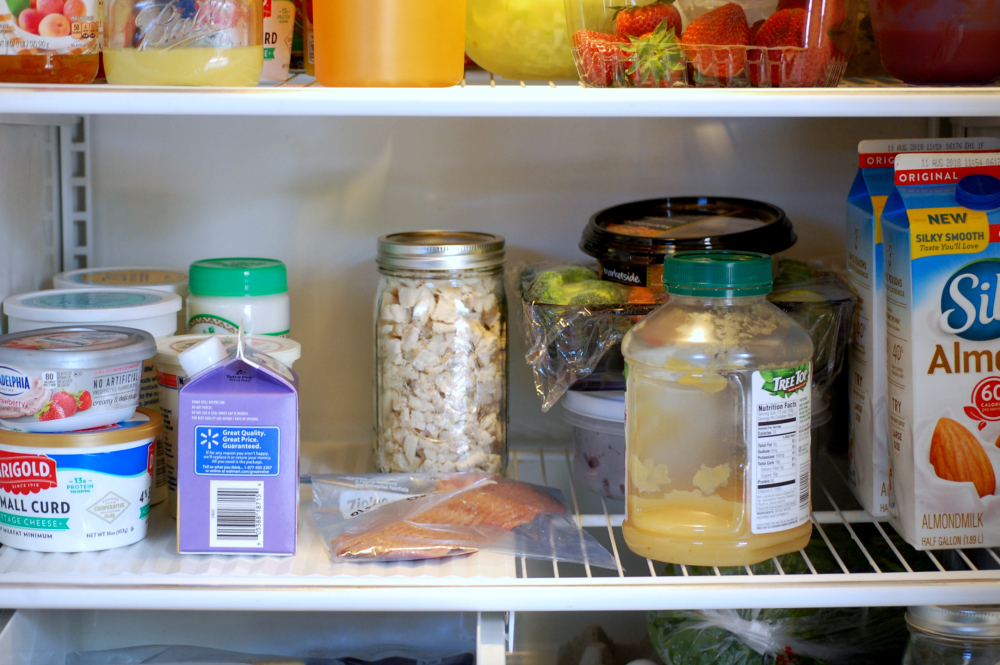
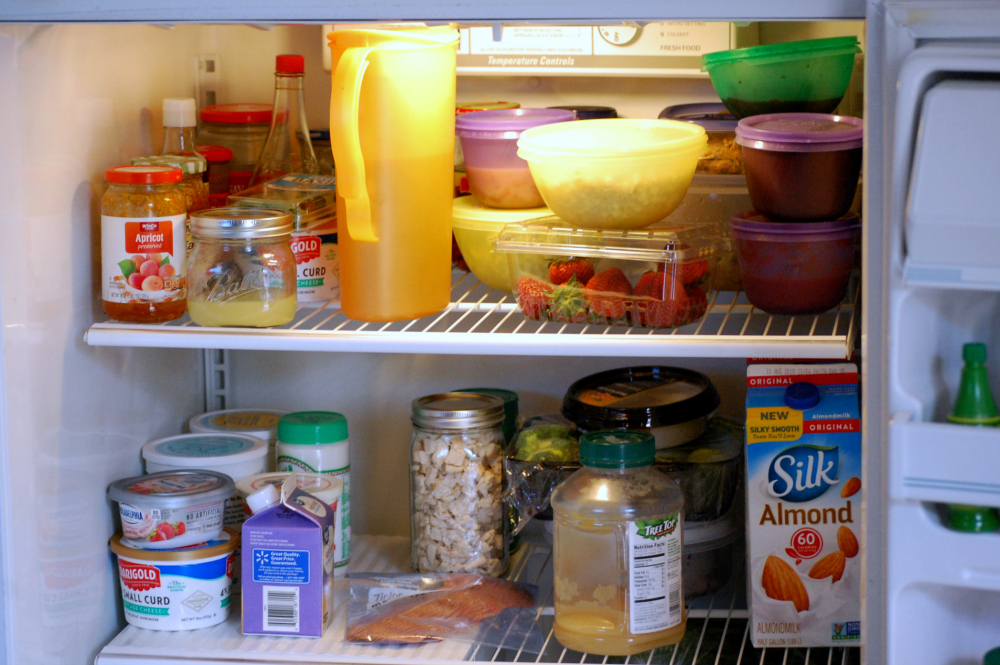
Step 6: Put everything back by category
Okay, you’ve made it this far…there’s just a little bit more work ahead! Now you can put everything back in the fridge, but before you do that, make sure you know where everything should go.
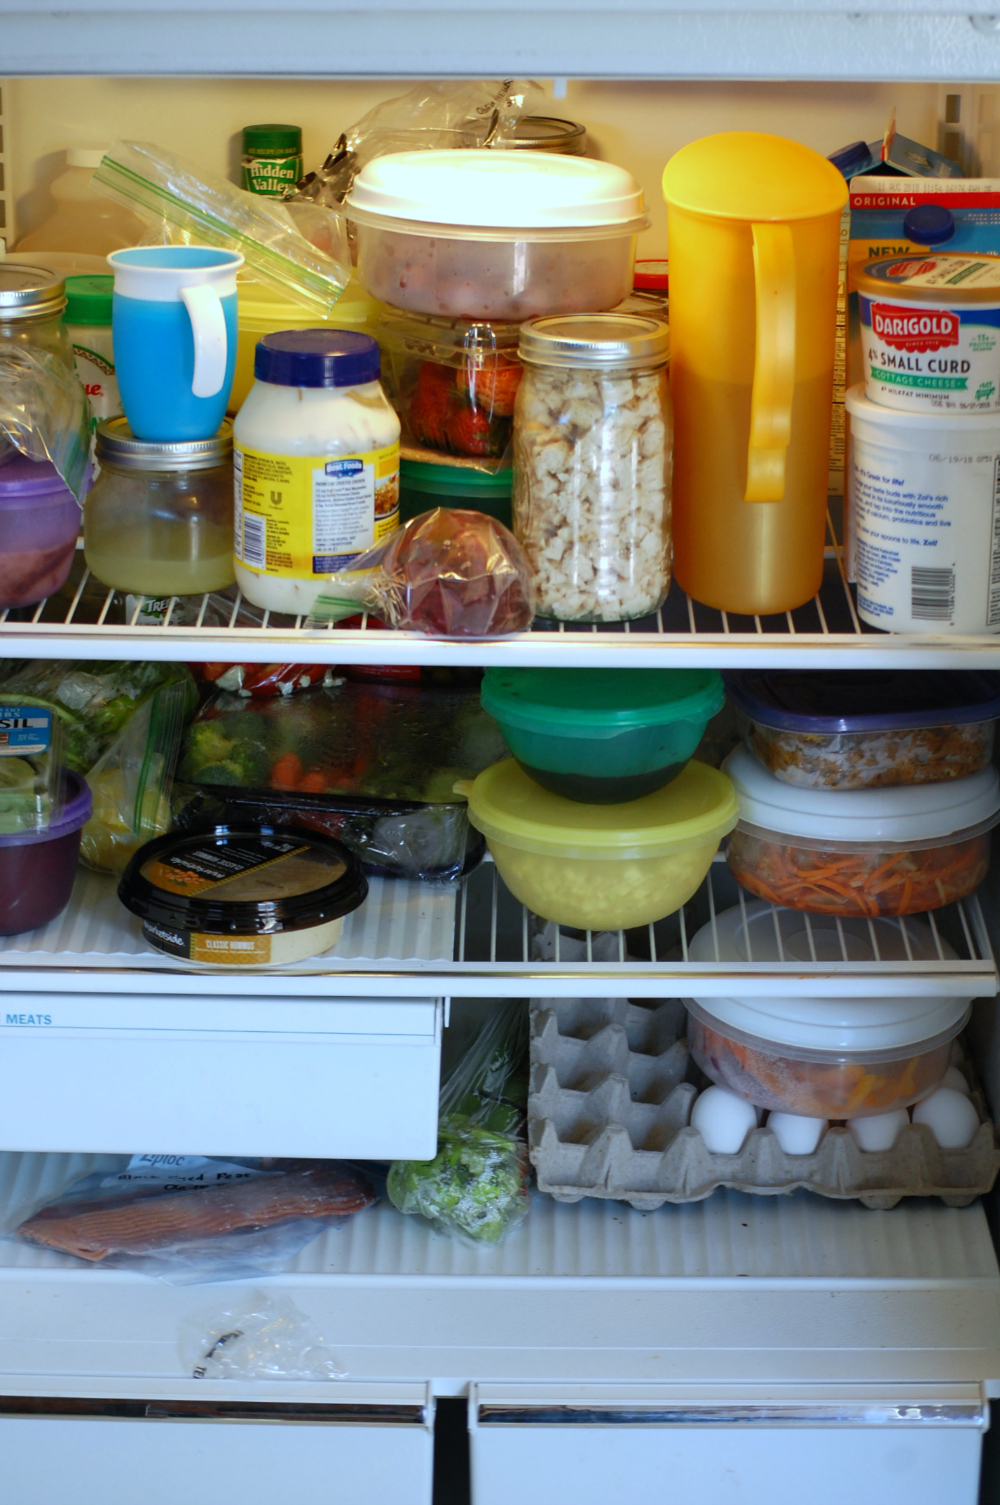
According to the experts (you know, chefs who work with food all the time), your fridge should be organized accordingly:
- The door: condiments, juice, and water
- The bottom drawers (crispers): fruits and vegetables
- The lower shelves: eggs, dairy, and raw meat
- The top shelves: leftovers, read-to-eat foods, drinks, and herbs
Before writing this post and making the video, I stored my milk in the door. I don’t think we ever got sick because it was stored at a higher temperature than it should have, but it’s just safe to store it the right way in the first place.
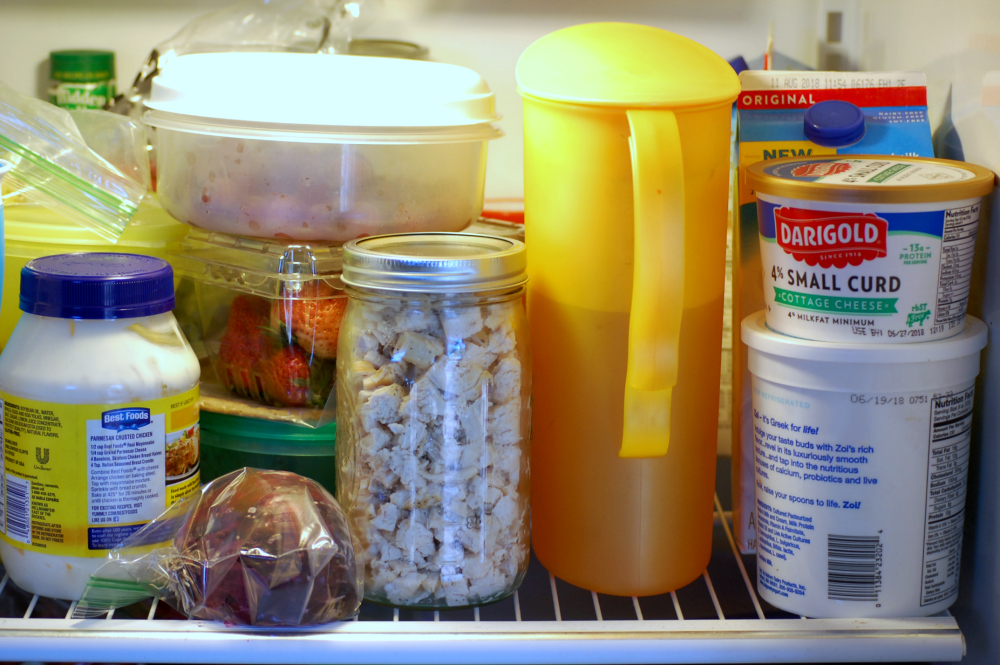
Of course, if you don’t have room in a certain spot to put even more of one thing in a particular category, find somewhere else to put it. For example, you’ll notice in my pictures that the strawberries are on the top shelf rather than inside a drawer. My drawers are full of vegetables, so I almost always keep fruits on the shelves. I just don’t store a lot of fruits in my own fridge. I’d be in trouble if I kept bags of apples and oranges in there! There would be no room for them.
Raw meat that can easily leak onto foods below should be properly wrapped or placed on a baking tray before storing in the fridge. You don’t want those leaks to reach your vegetables and fruits in the drawers and contaminate your good food!
How much time can I expect to spend organizing my fridge?
I’ll be honest, I spent about an hour organizing my fridge the last time I did it. The most time-consuming part was cleaning it, so, if you don’t need to clean anything, you can expect to spend 40 minutes or less (unless you have a large fridge or two fridges!).
Watch the Video About How to Organize Your Fridge
I made you a little video in case you’re a visual type 🙂 The video does not mention cleaning messy containers before putting them back, just FYI. Also, I made it several months ago, which is why I talk about “spring cleaning” the fridge.
Now that everything is in its place and your fridge is clean and pleasant, take a couple minutes to explain the organization to your family. Label the shelves and drawers, if necessary, and make sure your family knows that if anything is out of place in less than 24 hours, they get to clean and organize it next time. 😉
Now that you know how to organize your fridge, take a minute to schedule an alarm or reminder on your phone/calendar so you can do that before you go grocery shopping this week. Small things, like an organized fridge, can make a huge difference to a home-cook. An organized fridge = a happy cook = a happy home 🙂







Leave a Reply