
A couple weeks ago, I decided that we should declutter one of our hallway closets because it was becoming a home to too many things that we no longer needed or never used in the first place. There was a box in that closet that was full of pictures that I had printed out years before to put into photo albums. I used to take advantage of sales on Snapfish and Shutterfly to get my prints for much less than what I would pay on any normal day.
© volff / Dollar Photo Club
I took one long, hard look into that box and said to my husband, “Let’s take care of this box over the next few weekends. We can organize the pictures and then put them into these albums we have.” I had zero desire to actually do it at that moment, let alone in the future. But I knew that if we did nothing about it, that box would take up space we could be using for something more useful.
The next weekend came and I remembered that we wanted to organize those pictures. I did everything I could to continue putting it off until finally I just said, “Okay, let’s get this over with.”
We sat down and each took out a stack of pictures. Before we knew it, we were talking about things we remembered because of the pictures, and all our pictures were in more manageable piles organized by event. It literally took us less than an hour to get all the pictures sorted. I had been complaining and putting off this task for much too long. Fortunately we only had pictures from 2008 until 2011.
Disclosure: This post contains affiliate links (I’ve put a * by any link that is an affiliate link). If you click on one of these links and you make a purchase, I will receive a small commission from your purchase. Thank you for supporting Humble in a Heartbeat!
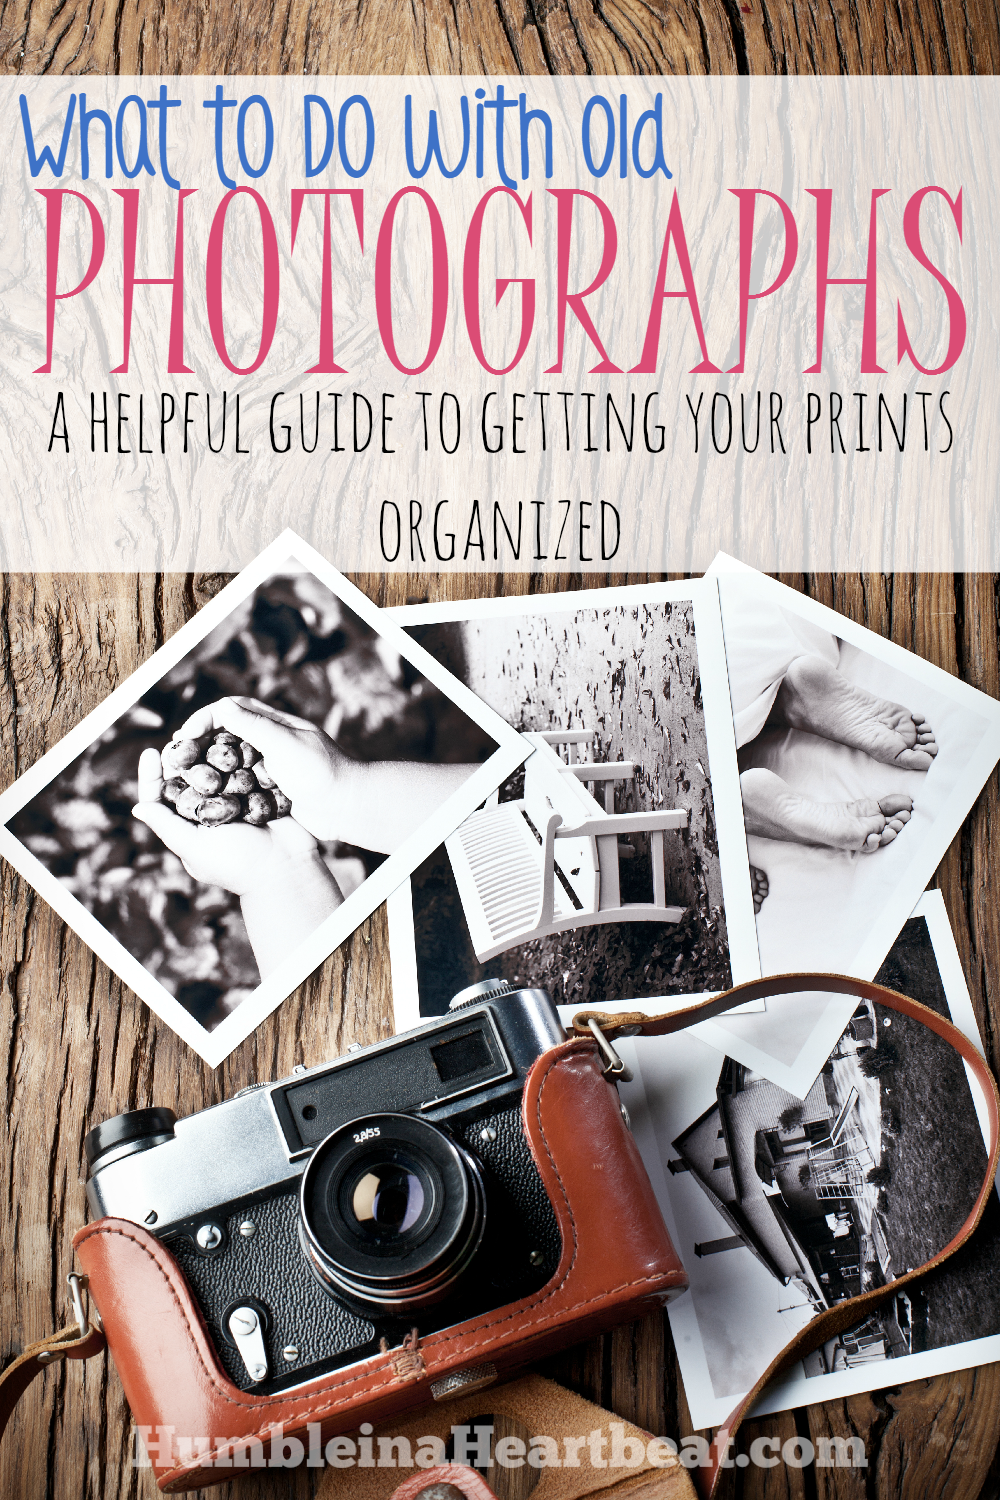
Steps to Organizing Your Box of Photographs
Do you have a similar box in your home full of photographs that you should organize? What is keeping you from getting them organized? Let’s go through some of the steps you can take to get your pictures organized once and for all!
Step 1: Set Aside Time to Organize the Pictures
If you’re like me, you probably think that organizing your pictures will take too long. That’s why the box has been sitting there for so long.
Set aside 30 minutes each week (an hour is even better), and you can tackle this task sooner rather than later. Be sure to write it down in your planner or calendar, and maybe even set up a reminder in your phone so that you don’t continue to put it off.
Step 2: Invite Someone to Help You and Have Some Food to Enjoy
This step is not absolutely necessary, but if you’re not really motivated, you might be if there is food and company to go along with it. My husband helped me and it made the time go by quicker and we could talk about the pictures together.
Step 3: Start Sorting the Pictures
I would suggest getting out one box at a time. Grab a stack of pictures and just start sorting them. You should come up with how you want them organized before you start sorting. I personally sorted them by event first because I didn’t want to have to rack my brain for the year. You can also have a pile of pictures that you want to throw away. No use in keeping every single picture you’ve ever taken! The ones you throw away will have no meaning in your life anymore or they are poor quality. You could also make another pile of pictures that you want to give away. It’s up to you how you sort them, but have a system down first. Let your helper know your system so nobody gets confused.
After I sorted my pictures by event, I had a much better idea of the year that they were in, so I put them into stacks by the year. This might be something you want to do as well.
Step 4: Scan Pictures into Your Computer
You could very well have prints in your boxes that are not in your computer. Make digital copies of them by scanning them into your computer. You can easily share pictures on social media when they are on your computer, and if you were to lose a photograph, you’d have a copy.
If you have several decades of pictures that are not in your computer, you need to decide which pictures are the most important to digitize. Spending time to scan each one into your computer could take too long and would be a waste of your time.
Step 5: Decide How You Want to Store the Pictures
These pictures have been in boxes for a long time, so now that you have them all organized, they need a home. Pictures are for enjoying, and placing them back into a box to put in your basement is not going to help you do that.
Ideas for Using Your Photos
Here are my ideas for what you can do with your pictures now that they are in more manageable piles.
Put Them into Photo Albums
The most obvious way to enjoy your pictures is by putting them into photo albums. Finding the right photo album might be the biggest challenge. Keep “photo album” on your shopping list, and you’ll soon run into just the right one. There are a ton of albums on Amazon*![]() to help get you started.
to help get you started.
Scrapbook
Take the creative route and make a scrapbook with your pictures. This will take a lot more time than simply placing them in a photo album, but it is so much more fun to look at a scrapbook. You can also journal a little if you have some significant story to go with the pictures.
I used to scrapbook when I was in high school, but I haven’t done anything since then. I know that if I set aside some time to do it with my sisters, it would be something I would really look forward to.
Make a Photo Book
If you scan a lot of your pictures into your computer, you can easily make a photo book. It will be easier than making a scrapbook. I enjoy making photo books and recommend using either Blurb* or Shutterfly (Enjoy 50 Free Prints from Shutterfly. Join Now.*) to complete your own.
Frame Them
Buy a couple of photo frames![]() * and start rotating your pictures. You could rotate on a quarterly schedule or a yearly schedule. There is really no right or wrong way, just so long as you can enjoy looking at your pictures more.
* and start rotating your pictures. You could rotate on a quarterly schedule or a yearly schedule. There is really no right or wrong way, just so long as you can enjoy looking at your pictures more.
Hang Them Up
Go buy a bulletin board![]() * and start hanging up your pictures. Make a fun collage out of them and it will be something guests can look at when they come to your home.
* and start hanging up your pictures. Make a fun collage out of them and it will be something guests can look at when they come to your home.
We have a bulletin board in our office with several pictures on it. It’s fun to look at the pictures when I want to look away from the computer. I often find myself smiling and remembering some fun things from years before.
File Away
For the pictures that you are not currently using, you should file them away. Get a box where you can easily put the pictures into folders by year or event. Use a box that is pleasing to look at so you can leave it out for people to go through when they come over.
Hopefully this guide to organizing your old photographs was helpful! I don’t know your situation, but organizing pictures shouldn’t take an inordinate amount of time. Doing small chunks at a time will make it easier on you. Happy Picture Organizing!
How many pictures do you have to organize?
I’d love for you to share this on Pinterest or Facebook if it was of use to you! Please sign up for my weekly newsletter to keep up with Humble in a Heartbeat!

- Versatile and Flavorful Pumpkin Chicken Soup - 01.03.26
- Easy Instant Pot Bone Broth Recipe - 09.20.25
- Healthy Make-Ahead Tomato Onion Salad Jars - 07.11.25
Just wanted to add a tidbit I have learned. After my parents passed away I inherited all of the pictures taken throughout my and my 5 siblings childhoods. (not at all organized!) I put off sorting them for the longest time because I was not sure HOW to do it! I did finally just dig in and start. (I sorted by who was in the picture.) When I was done I had A LOT of pictures that I thought everyone should have a copy of. I found a photography shop that would do what they call “Shoebox Scanning,” a process where they scan all of the photographs and put them on a disc. It is very reasonably priced and saves a ton of time! I gave the sorted pictures to each of my siblings and gave them each a copy of the disc!
What a great way to eliminate a lot of time on your part! Thank you for sharing how you got your parent’s pictures organized, Amy!
Oh how jealous I am of the moms who had children 10 years after me. They have these beautiful, fun, organized memories. They could take dozens of pics to get just the right one. My girls were born in the 90s. Every time I think I’ve dealt with a box of pictures, I find another! Many of them are doubles and/or poor quality. I can’t even imagine how much money I spent over the years on film and processing only to end up with a few great shots in each one. I was so proud of myself after filling a couple of albums one night, I thought I was inserting them by timeline, while placing doubles aside. I think I must have been drunk. When I picked up that album, I don’t know what I was doing! You’ve given me renewed motivation to continue working. My children are 20 and 25 now!
Please make sure if you are going to take the time to sort and place albums that you also label as to who what when and where. Someday someone will thank you when they don’t have to wonder who those people are and where and what they were doing.
If you are going to sort and store, take a small amount of time to keep those photos archive safe. Cardboard boxes are not the way to go. An economical way to do it is to buy 100% cotton paper (the kind good resumes use) and place the photos in hanging folders between the paper. Higgins boxes are great too but they are more expensive. Do not store in attics or basements either. I use a metal filing cabinet with desiccant packs. with the hanging folder, cotton paper method. When scanning store off site in more than 1 place.
I have probably 4 chests of lose pictures and 20 albums. I am so overwhelmed. I am single with no children. I call myself the memory keeper because it seems that I have pictures of all of my family members and ancestors. I live my photos. Always had a camera growing up.
I just don’t know what to do with all of them. I just did a big clean out of my home and now I am left with this big project but with to many ideas..my family lives out of state and my niece and nephew are grown. I want them to have these photos when they are older. I also have tons of pictures of myself and friends from school. Anyone have ideas. I’m reAlly lost…😫🤣
I had all of my family pics, vidoes, and scrapbooks digitized through a website that then puts them on a cloud where only your family can access them. Saved me SOO much time and made organizing and sharing easy peasy! Message me if you want more info as I am not trying to promote or be an ad on this great blog post.
I would love to hear what you used to digitize photos, etc.