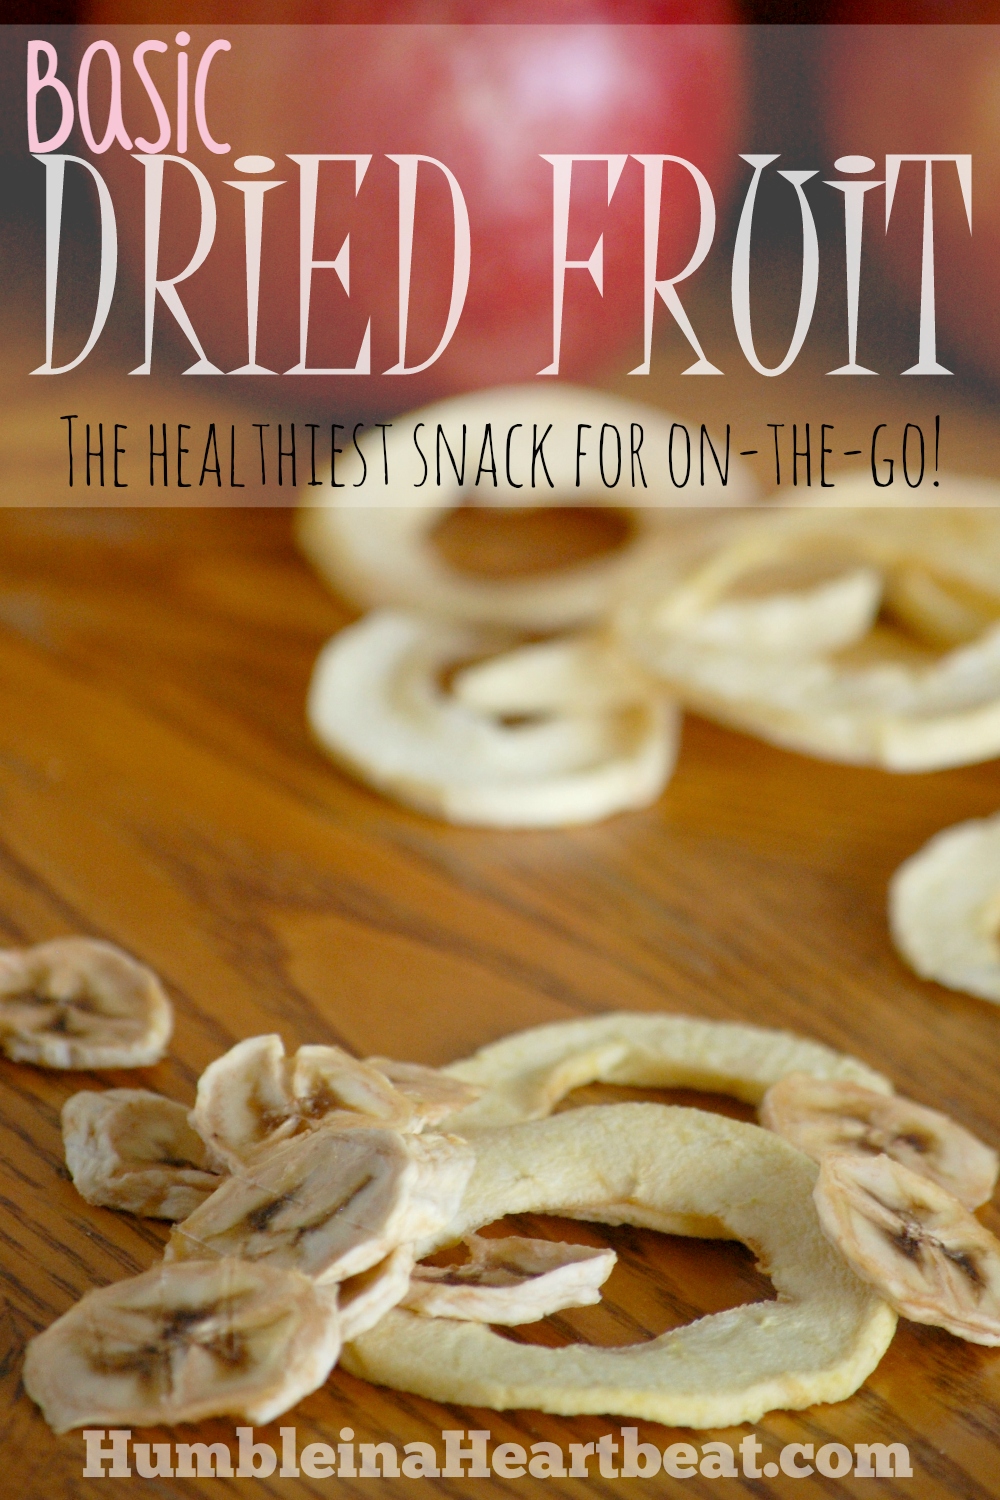
Fruit is the perfect snack food for children because it has numerous benefits that they can’t get from eating anything else. I’m sure if you thought through the fruits you gave your child most recently you’d say they were either fresh, canned, or frozen, right? Dehydrated fruits are another great option, but the variety at the grocery store may not be what you need. How about making some yourself? Using a dehydrator makes the process a cinch.

Disclosure: This post contains affiliate links. If you click on one of these links and you make a purchase, I will receive a small commission from your purchase.
How to Dry Fruit in a Dehydrator
If you think you will get a lot of use out of it, a dehydrator is well worth the cost. The dehydrator I borrowed was the Nesco FD-60 Snackmaster Express and it makes the whole process of drying really simple. Fortunately my friend already had bought more trays for it when I borrowed it because I made a ton of apples and bananas. The dehydrator comes with just 4 trays, but she bought a few more so she could dry more at once.
Dehydrating Apples and Bananas
Dehydrating apples and bananas in a dehydrator is fairly straightforward and requires little effort on your part. You just need some apples and bananas (I’d recommend making at least 5 of each fruit so you can have more to snack on) and a dehydrator. The only other ingredient you need besides the fruit is some lemon juice. When I made the apples and bananas, I used actual lemon juice, but you can also just use the lemon juice you buy from the store to spray onto the fruit. When I made my second batch a couple weeks after the first, I didn’t have any lemon juice at all, but I did have citric acid. I just dissolved a bit of citric acid in some water and soaked the fruit that way before placing them on the trays.
 Step 1
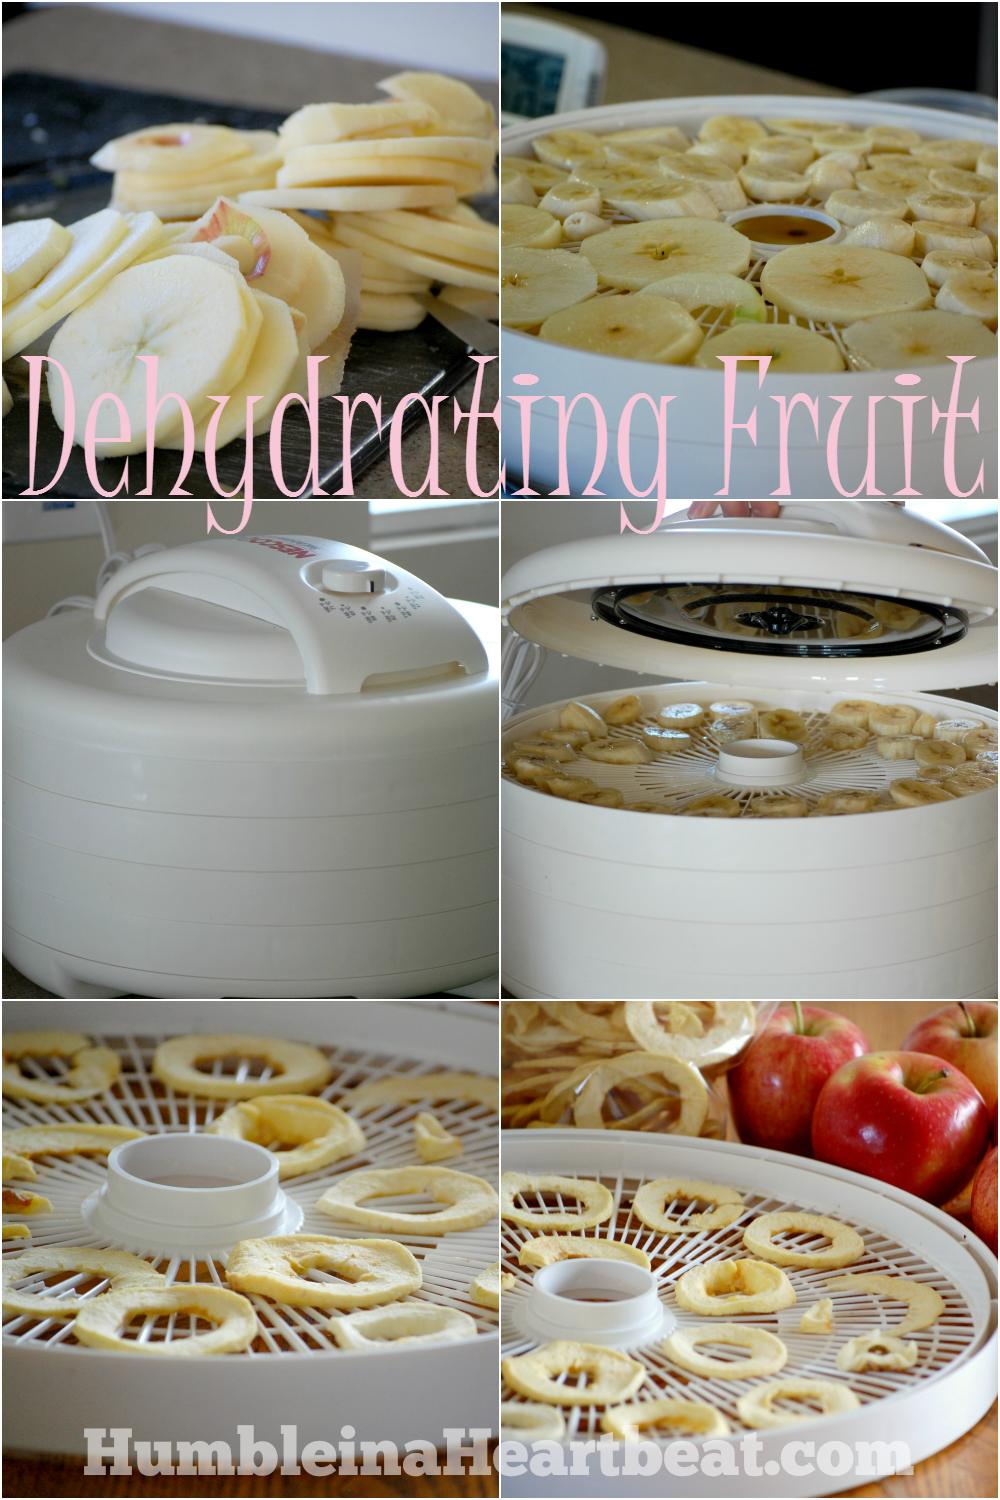
The first thing you want to do to prepare the apples for dehydrating is peel them. This is not necessary, but I did it for the sake of my daughters to prevent any choking hazards. You must peel the bananas in order to dehydrate them.
Step 2
Now you need to slice the apples fairly thin. You can leave the core, because once they are dry it is easy to eat that part. However, the second time I made them I removed the core and they were much easier to eat, especially for my daughters. Slice the bananas at an angle.
Step 3
Soak the apple and banana slices in some lemon juice or citric acid mixed with water. I wouldn’t recommend soaking in just lemon juice. I did this on accident and the fruit came out pretty tart. This was actually fairly delicious on the apples, but not so much on the bananas.
Step 4
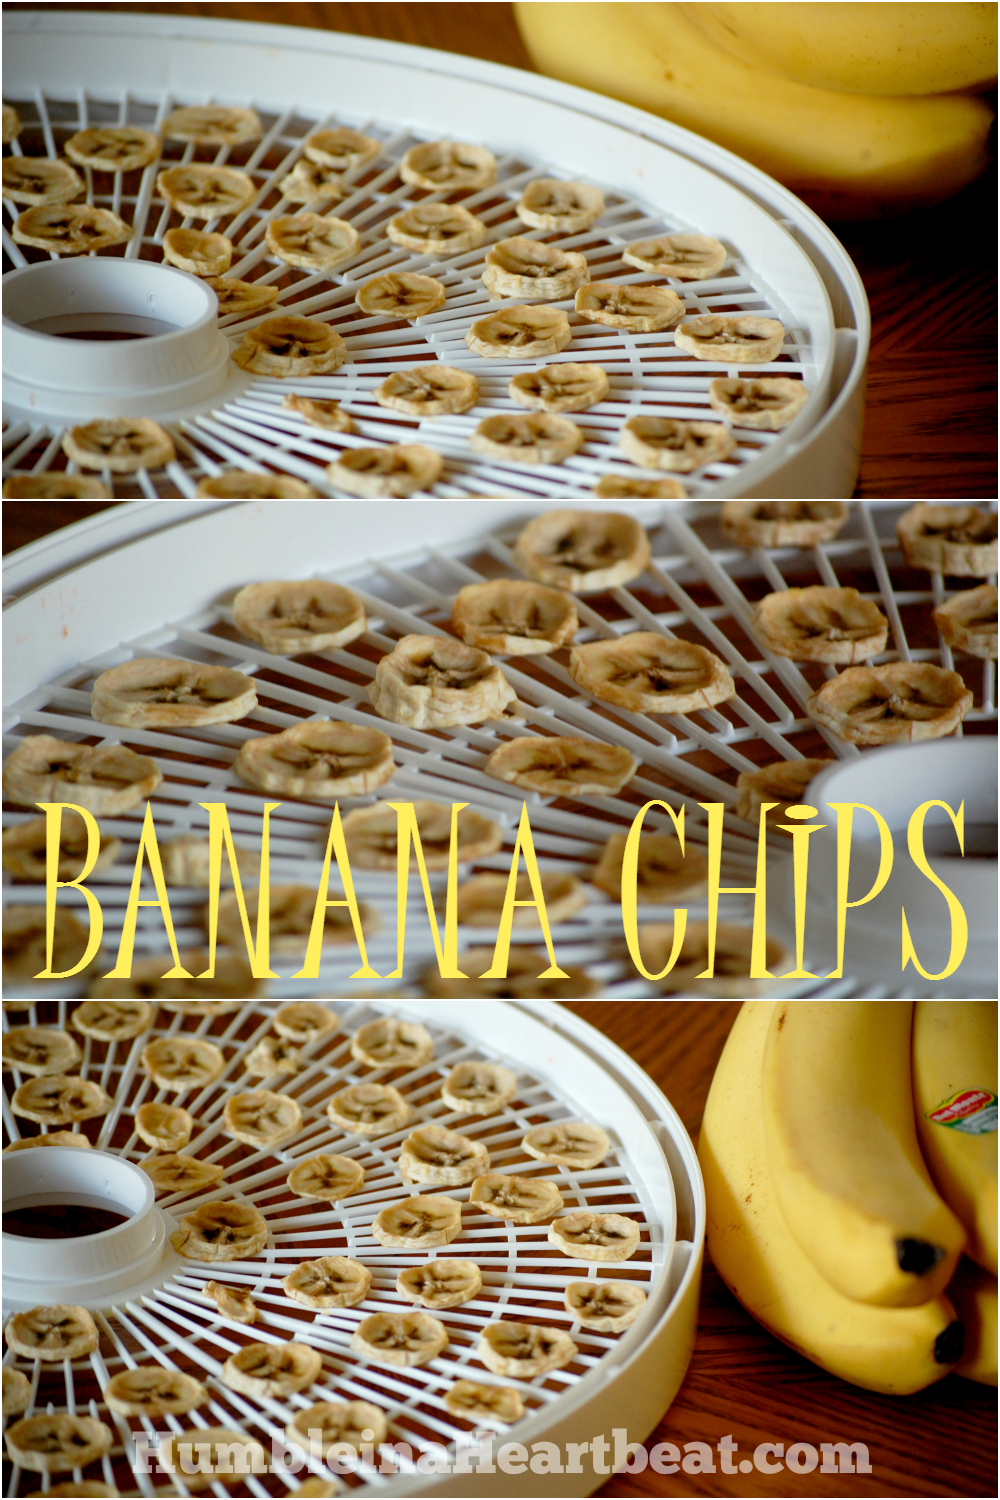
Place the apples and bananas on a tray, and don’t worry if the slices are touching each other. Stack the trays on top of each other. I would put the bananas on the bottom of this particular dehydrator since the heat comes from the top. The bananas tend to cook a bit faster than the apples.
Step 5
Turn on the dehydrator to the desired temperature (125F is what I put it at) and leave them for at least 10-12 hours. When they are finished they should easily break in half.

I have never found dried bananas or apples at the store that come without added sugar. Drying your own fruit at home is the best way to keep this perfect on-the-go snack healthy.
Cost to Make Dried Fruit
Dried fruit will vary in cost depending on what fruits you buy, what time of year you buy them, and many other factors. For the sake of this cost breakdown, I’ll tell you how much I paid.
Apples (1 bag from about 6 apples) – $2.68
Bananas (1 bag from 5 bananas) – $1.35
If you add the cost of the lemon juice, it probably adds about 25-50 cents depending on how much you use and if it is fresh or not.

What is your favorite dried fruit?


Yum! My husband has been begging for some dried apples lately. We have a apple spinning peeler/corer/cutter thingymabob that helps with prepping the apples. Dried fruit always reminds me of my grandma who would spend days prepare much of the harvest fruit this way.
Hopefully your husband doesn’t have to wait too much longer for some dried apples! 😉 My mom bought one of those apple corer thingys when I was in high school, and I used it all the time. I loved it! Isn’t it amazing how our grandmothers could spend so much time on something we take for granted?
Someday I want a food dehydrator! Maybe when my apple trees start producing in the next year or two, I can justify that kitchen purchase.
We used to live in a house with a pear tree, and now our current house has an apple tree, but we’ve just never taken the time to really take care of them so that they produce good fruit. The apples are tasty, no doubt, but they are full of worms! 🙁 I agree that you should only get a dehydrator if you’ll be using it often. Until I can get one myself, I’ll just borrow my friend’s. 🙂
Okay I just had such a “duh” moment! Lemon juice on the bananas…and all this time I’d been skipping dehydrated ‘nanners because the color was too weird when I dried them without acid.
HA! Glad you’ve had an epiphany and hopefully those nanners of yours look tastier the next time you make them. Thanks for popping in, Courtney!