The agonizing part of being a photo fanatic is that you have thousands of pictures and they are ALL your favorite. You can’t pick just one to hang on the wall. And, that, my friends, is why I am in love with making photo mosaics.

EasyMoza is a website where you can take your favorite picture and turn it into a photo mosaic. You can download your mosaic for free (as a low-resolution picture) or you can pay to download the high-resolution picture. The low-resolution size is about 1200×900 pixels at the very most, which is barely big enough to make a 5×7 picture, so the only reason you would want to go the free route is for anything 5×7 or smaller or for sharing online.
When I made my first mosaic, I wanted to make it last, so I decided I would make a canvas print of it. I paid the $5.95 to download a high-resolution image of my photo mosaic, and then I searched for canvas prints to find out how much I could expect to pay.
I was shocked to see such high prices for the canvas prints! Fortunately, I found a Groupon at that time to get two 16×20 canvas prints for just $60, which was quite a deal considering one canvas print at the regular price was pushing $129.
I uploaded my photo mosaic to make one of my canvas prints, and then I read the fine print on the Groupon that said I had to use both within a month of purchase. So I made another mosaic, this one of my only child at the time when she was a newborn. A few days after I ordered both of them, I found out I was pregnant with my second child! Now that child is two years old, and she still doesn’t have her own photo mosaic canvas print on the wall!
So, here I am, giving you a tutorial on how to make a mosaic of your favorite picture and pushing myself to finally make my two year old’s mosaic!
How to Make a Mosaic of Your Favorite Picture
I think it is a steal to make a photo mosaic for only $6! EasyMoza does all the hard work for you and always comes out with the most stunning results. You should know that the photo mosaics I am sharing with you in this tutorial may look funny, but when they are 16×20 on your living room wall, they don’t even look like a mosaic until you get closer. Besides, a mosaic isn’t supposed to look “normal.” It is awesome that so many pictures can combine to become one!
I was going to take you step-by-step through the EasyMoza process, with screenshots and all, but I decided it was fairly self-explanatory. Instead, I’ll just give you a few pointers so if you’d like to make your own you aren’t spending too much time.
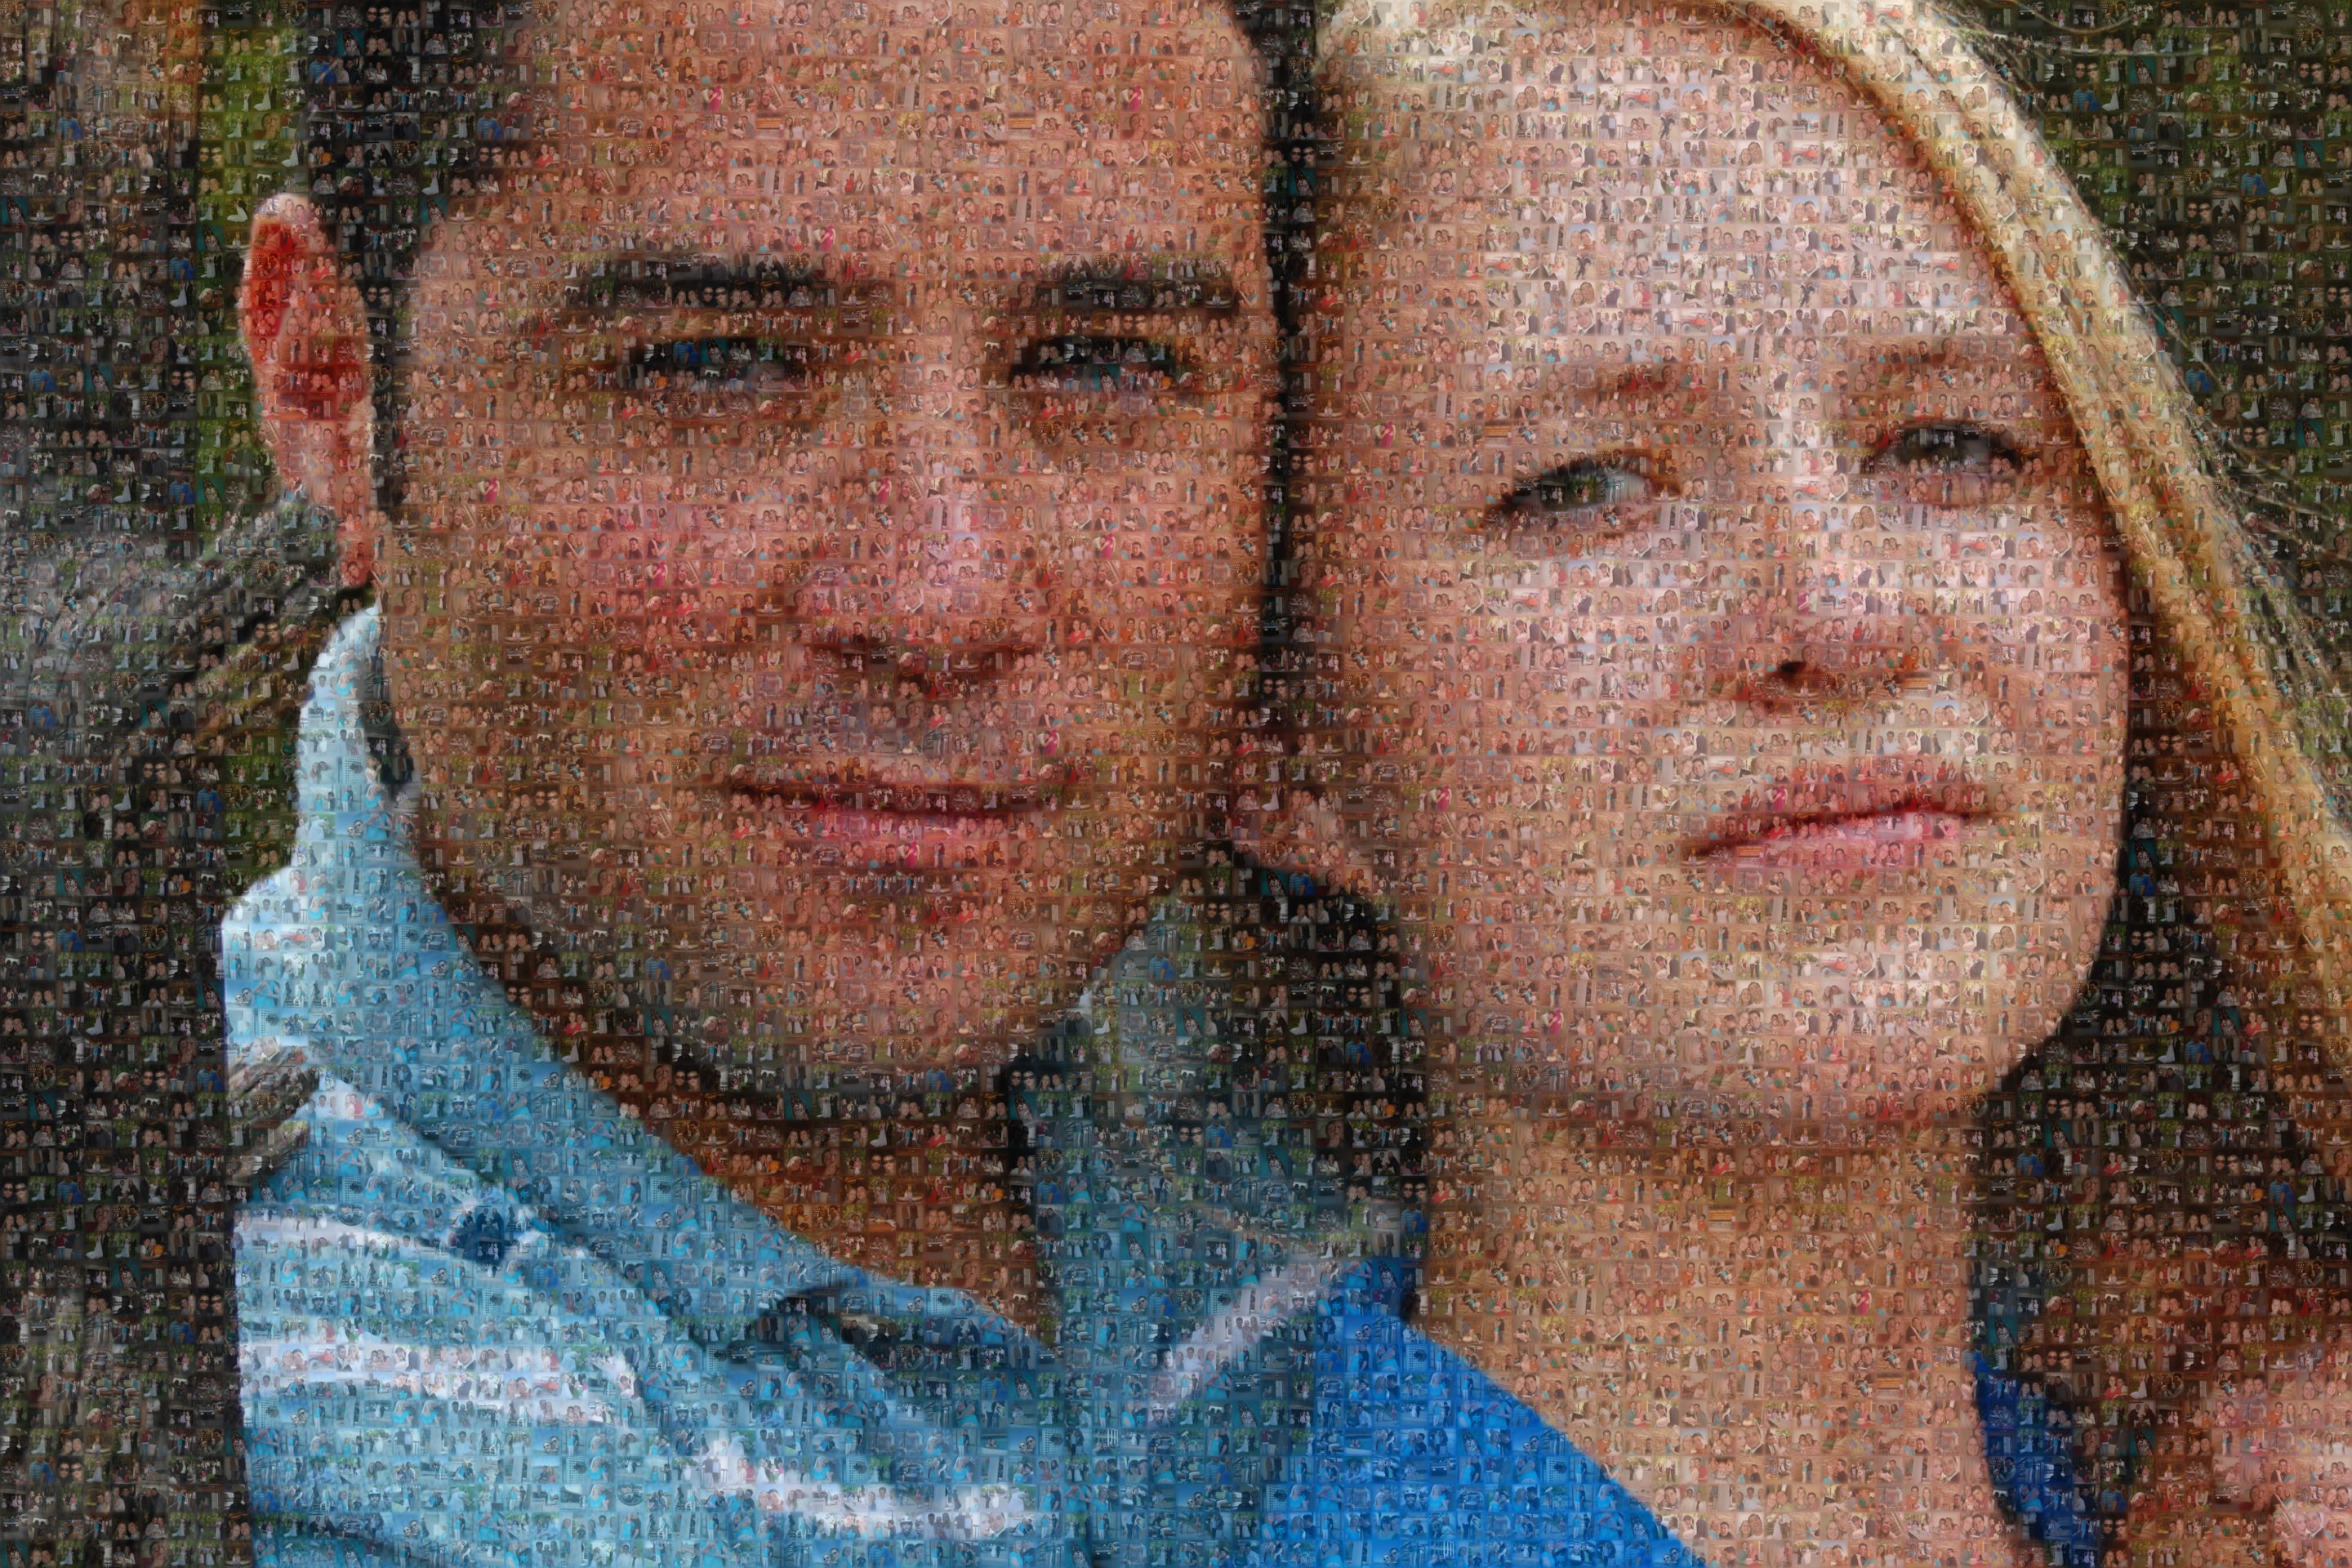
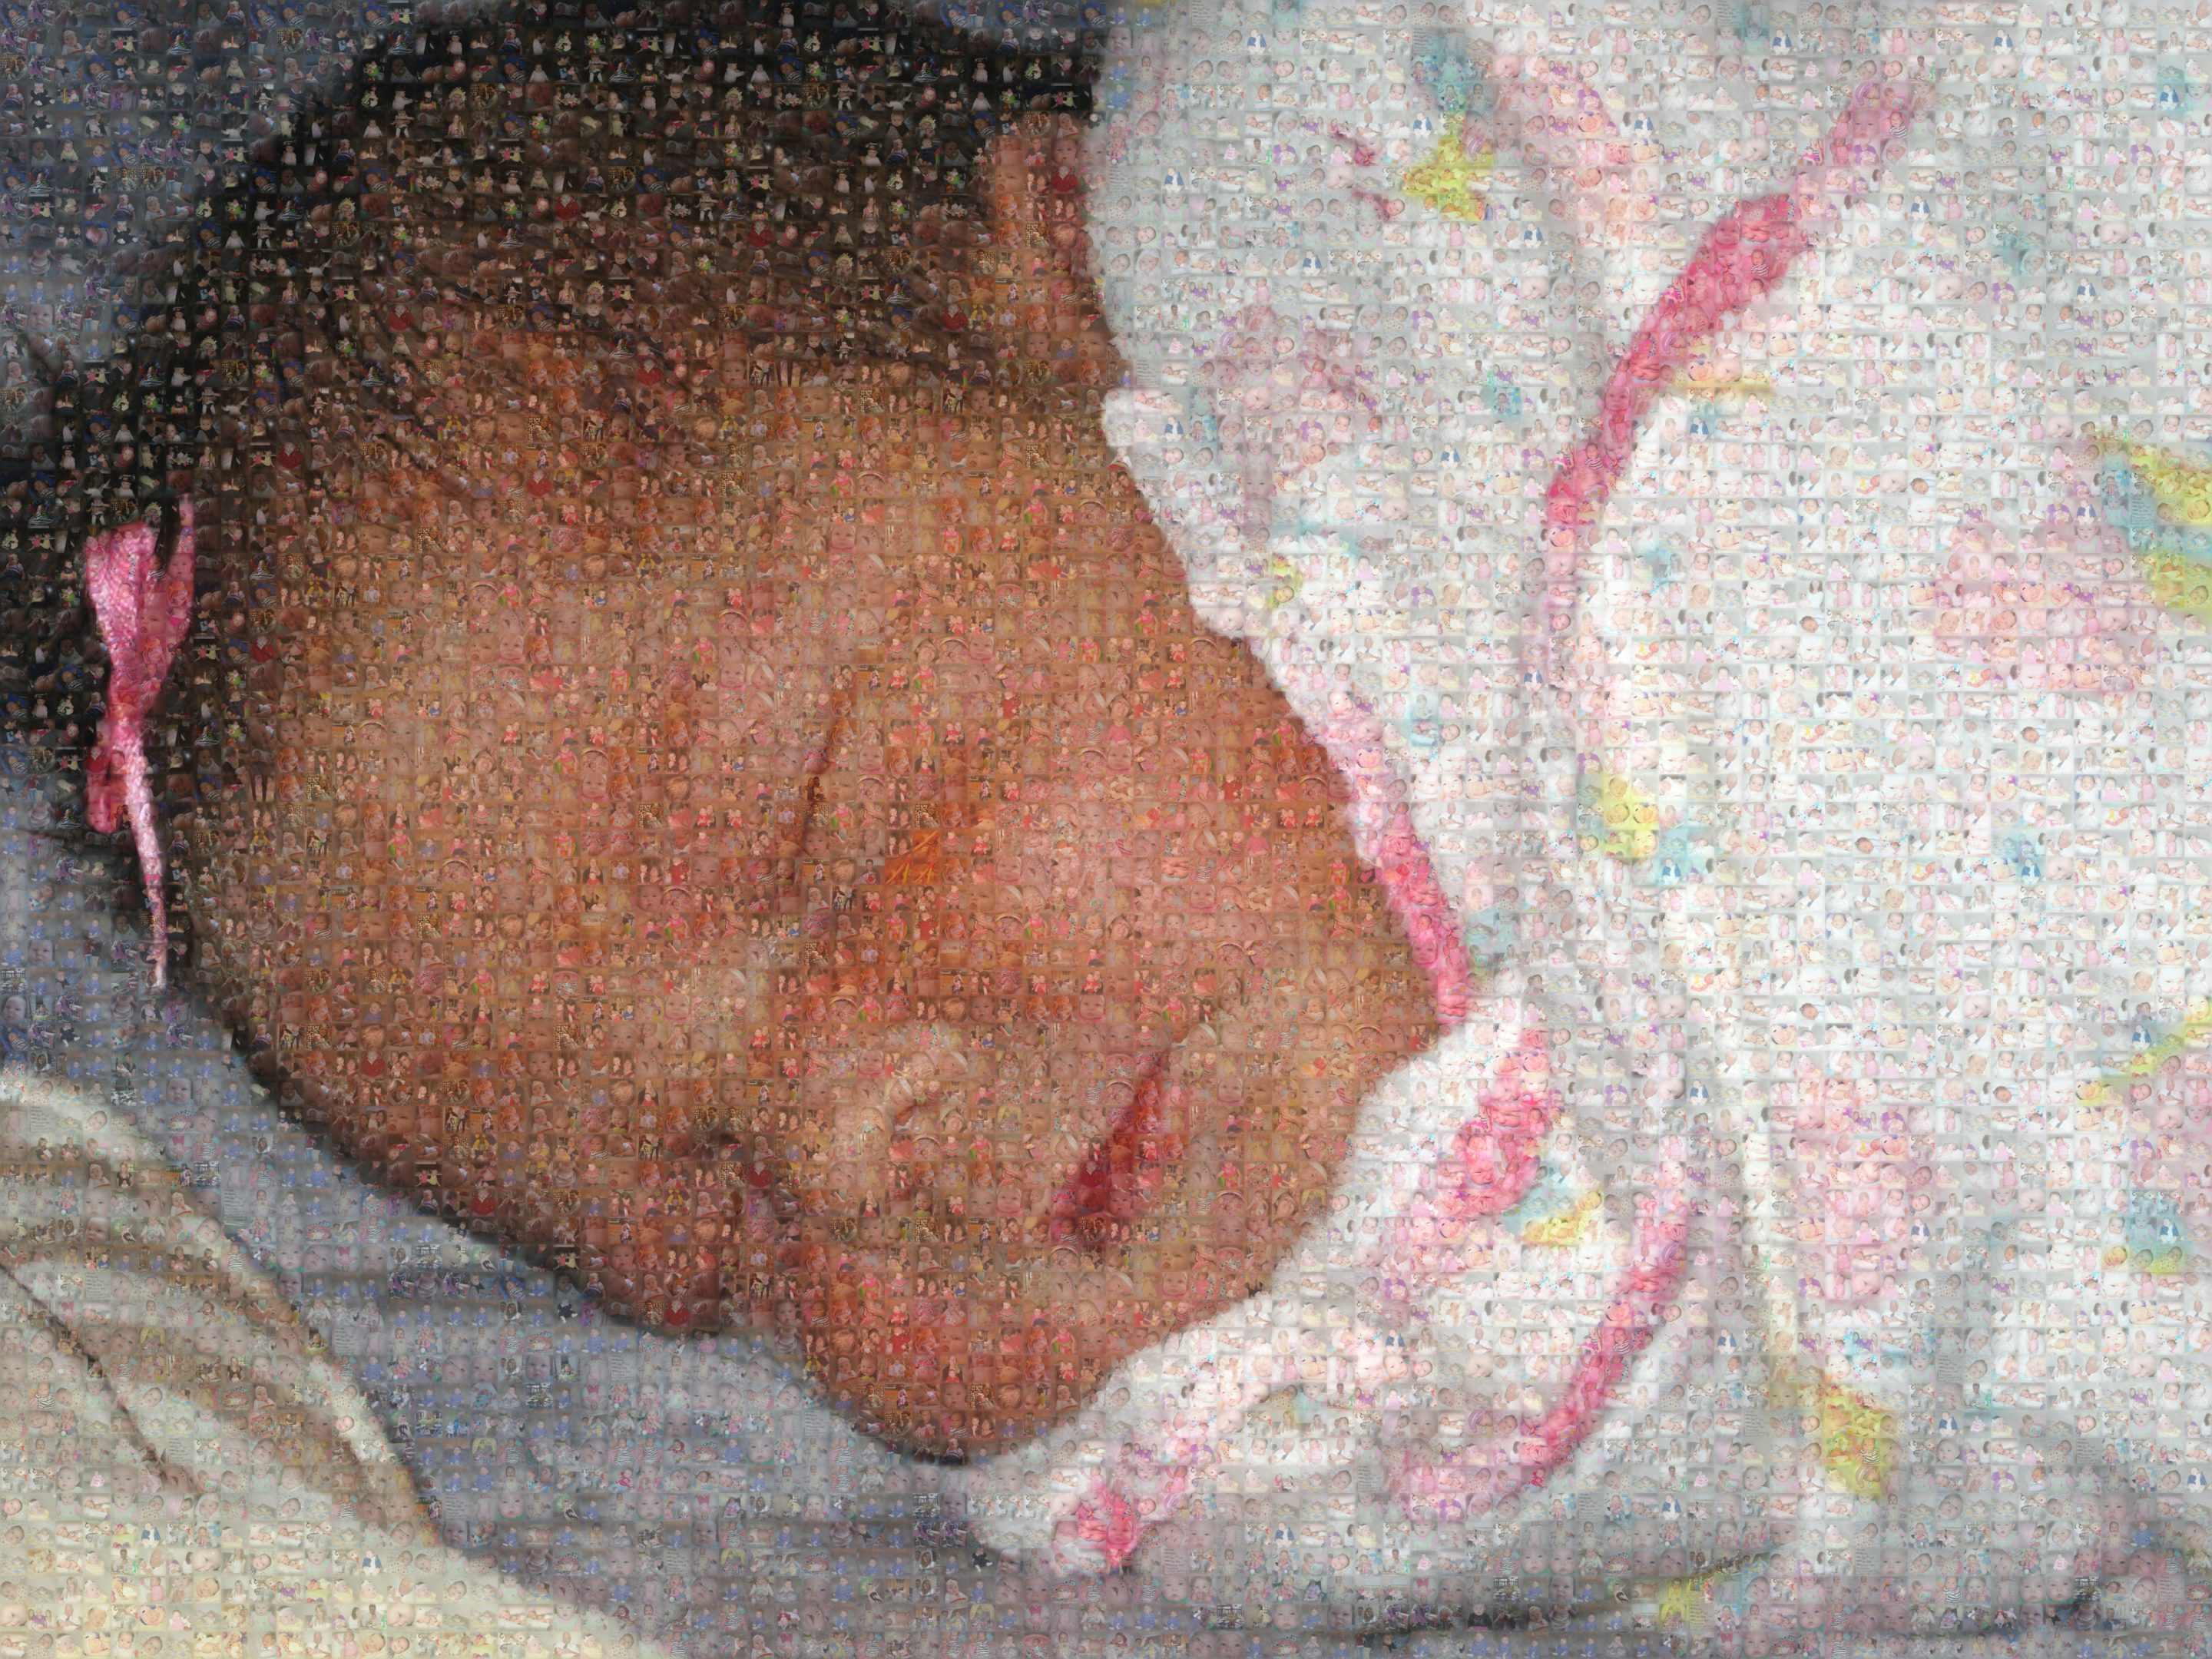
First, choose the main photo for your mosaic. I have made three mosaics: a couple photo of myself and my husband, and two newborn photos of my daughters. The EasyMoza website does warn that it is best to choose a picture that is not very detailed, meaning a closeup portrait shot would work great. I think my youngest daughter’s mosaic was too detailed in the blankets, and so it does look a little more busy than the other two.
Our couple shot before
My firstborn’s newborn picture before
My youngest daughter’s newborn picture before
You will probably want to edit the main picture before you upload it to EasyMoza. You can spend two minutes with these 5 main edits that I like to do to my pictures, or you can get more fancy. I just use PicMonkey and it works great for my needs.
When I was making my youngest daughter’s mosaic I couldn’t remember if I had resized the first two pictures I did a few years ago, but I resized it anyway. I would recommend not resizing your picture, though, because EasyMoza resizes it for you once it is complete.
Now comes the most time consuming part. Start gathering all the pictures you would like to make up your main photo. For our couple’s picture, I chose any picture that had both of us in it over the years. For both of my baby’s pictures, I chose pictures that they were in during their first year. These pictures are ones that I did not bother editing. First, because you won’t be able to see them unless you get right up to the picture, and, second, because you need to upload at least 100 pictures and that could take a lot of time to edit!
For all of the mosaics I did, I uploaded at least 300 pictures. For the last one I just did, I actually uploaded over 700! It doesn’t matter how many you upload, though, because you will still see repeats of pictures.
Now, let me show you the closeups of each of the above pictures as mosaics.
Can you tell what part of the picture each one is from? It looks really cool!
Here is what the pictures look like as full mosaics:
Our couple shot after
My firstborn’s newborn picture after
My youngest daughter’s newborn picture after
When the mosaic is complete, EasyMoza will give you a few options. You can choose to download the low-resolution photo, a high-resolution photo, or a really high-resolution photo (which is more expensive at $9.95). If you choose one of the high-resolution options, you will purchase a payment code and it’s as easy as that!
Disclosure: I am NOT affiliated with EasyMoza, and they don’t even know I wrote this post. I just really enjoy their service and think it’s worth the $6 to make your own high-resolution photo!


Leave a Reply