
Homemade chicken lunch meat is so easy and incredibly healthy compared to store-bought, it’s a wonder we aren’t all making it!
What’s worse than paying $13 a pound for lunch meat?
Probably when you realize your lunch meat is full of completely unnecessary and unappetizing ingredients.
If you’re tired of the cost and junky ingredients in lunch meat, it’s time to switch to making your own lunch meat with common pantry staples.
Lucky for you, I’m sharing my favorite recipe with you so you can do just that. You will love this very affordable and delicious recipe for homemade chicken lunch meat!
When we were in the process of ditching processed foods, I continued to buy lunch meat. I knew it wasn’t the best option, but I felt like there was no way I could make my own lunch meat at home with how time-consuming it would be.
What I found out is that it takes way less time than I thought. It’s so easy!
We love having this chicken lunch meat as a healthy protein option for quick lunches. Not only is homemade chicken lunch meat completely clean, it’s also so much cheaper than store-bought!
How to Make Chicken Lunch Meat
Are you ready for the most moist, tasty lunch meat you’ve ever had? Great, let’s get to the recipe.
Here is what you need to make homemade chicken lunch meat:
- Boneless, skinless chicken breasts (2)
- Garlic, sliced
- Oregano (or favorite seasoning/herb)
- Lemon zest
- Lemon juice
- Avocado oil or other cooking fat (melted if needed)
- Salt and black pepper
Picture Instructions for Making Chicken Lunch Meat
Turn on your oven to 375 degrees F.
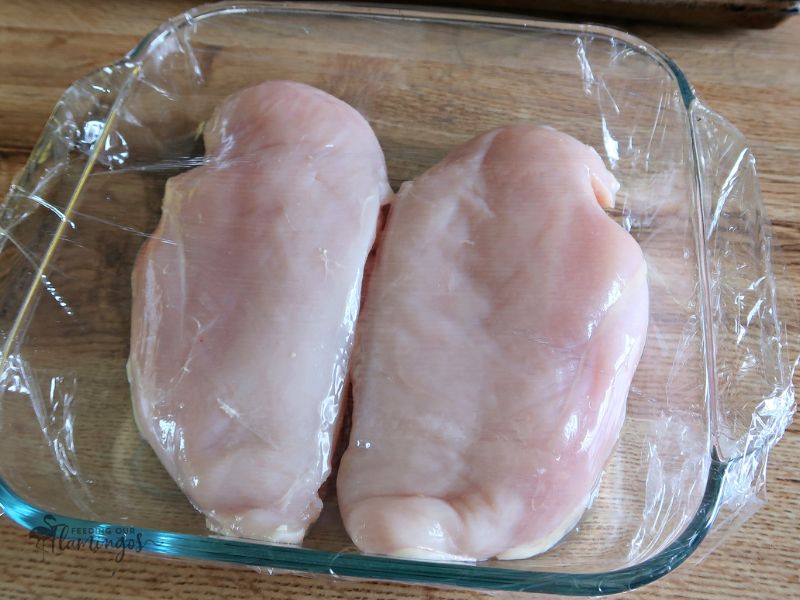
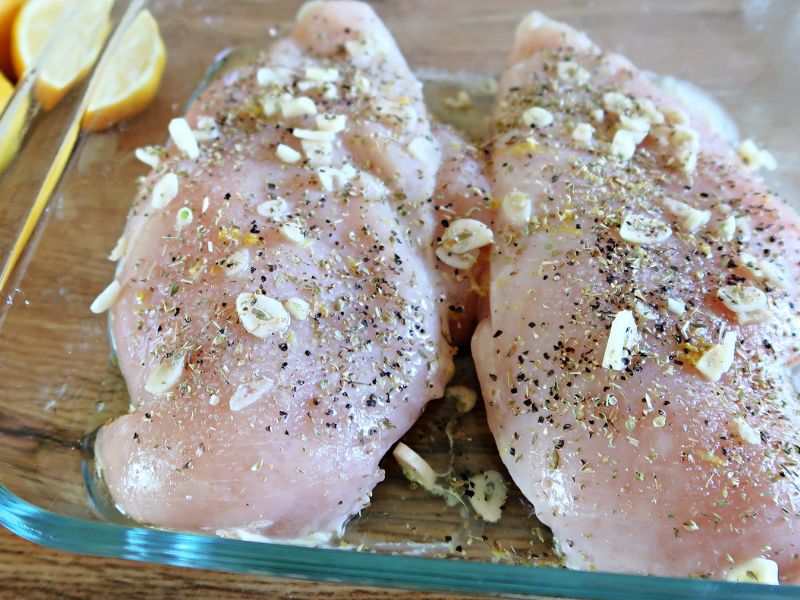
Place your chicken breast in an 8×8 pyrex dish along with the garlic, oregano, lemon zest, lemon juice, avocado oil, salt, and pepper. Flip the chicken around with some tongs and get everything all over it. Let it sit for 20 minutes to soak in all that goodness.
Put into the preheated oven for 30 minutes or until the internal temperature reaches 165 degrees F and the juices run clear.

Remove from the oven and let the chicken cool for at least 20 minutes.

Put the chicken into the fridge for at least 1-2 hours or in the freezer for about 40 minutes if you want to slice it ASAP.
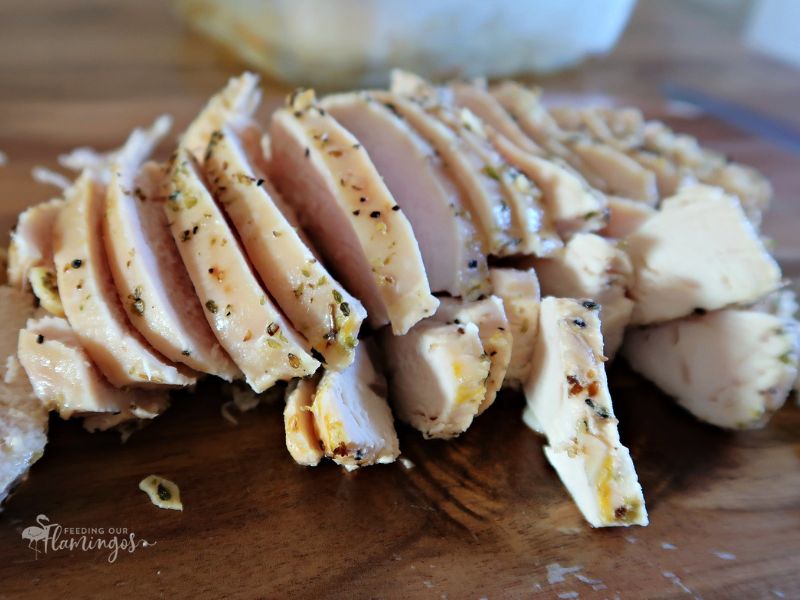
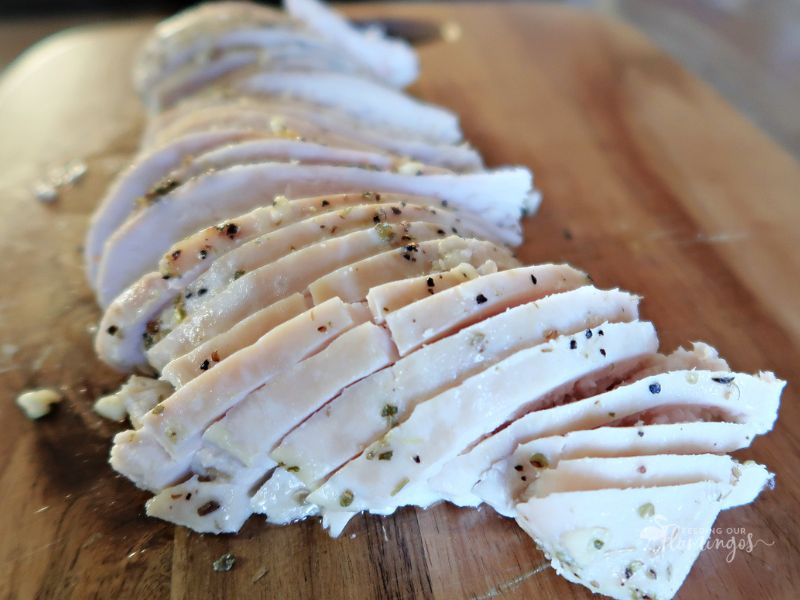
Get it out and slice it against the grain with a very sharp knife.
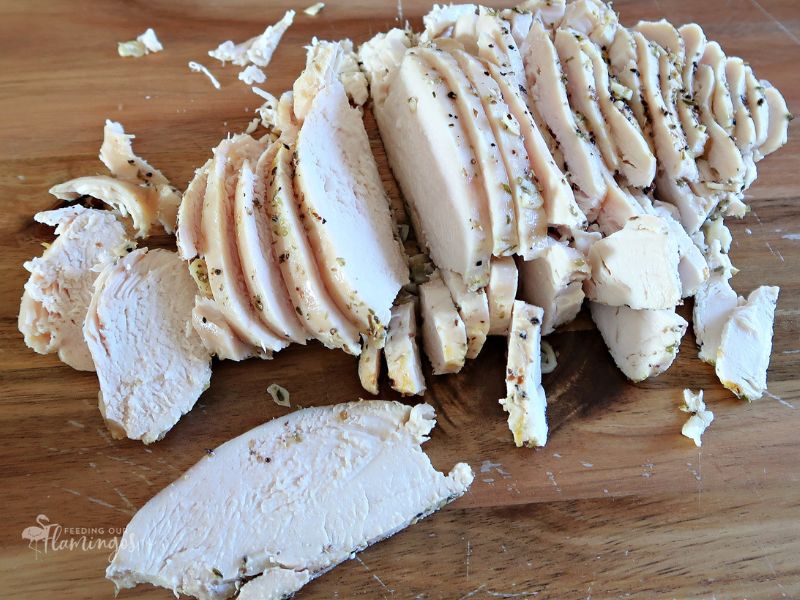
Frequently Asked Questions About Making Your Own Chicken Lunch Meat
How do you slice chicken lunch meat so it’s really thin?
One thing that really does help with getting thin slices is making sure the meat is chilled, even partially frozen when you do it. So once you cook the meat and cool it down, put it in the fridge or freezer for an hour or two and then slice it.
You might also be able to slice the meat with a meat slicer or a mandolin. I have never tried either one, but they are worth a shot.
How much money can I really save by making my own lunch meat?
You can save a lot, but it really just depends on how much you normally spend on lunch meat and how much you are spending on your chicken breast.
I decided to do a price check on lunch meat in my area to show you just how expensive it really is. The cheapest I could find turkey lunch meat in my area was $5.14 per pound, with most of the prices running at $7.09/lb and up!
Compare that to a much lower price of $2.49/lb for boneless, skinless chicken breast. However, that was the cheapest price I could find and most of it is actually in the $2.99-$11.19/lb range.
I think you can save the most if you don’t buy boneless, skinless chicken breast to make this. Instead, I recommend buying a whole chicken, piecing it out yourself, and then using the two chicken breasts to make the lunch meat. For me, that’s been the most cost effective way to make this lunch meat. I can get a whole chicken for $1.84/lb in my area.
If you scroll down past the recipe on this post, I have a section where I show you with pictures how to piece out a whole chicken so you can use the breast for this lunch meat recipe.
Essentially, I am saving $3.30 per pound by buying a whole chicken versus buying turkey lunch meat. That is a huge cost savings, especially when you realize how much healthier the final product will be than the store-bought version.
How much time do I need to make this?
The hands on time is less than 15 minutes. You will spend about 10 minutes putting everything together in the pyrex before you bake the chicken. Then, slicing afterwards takes about 5 minutes.
The total time from start to finish will be about 1 hour and 45 minutes.
10 minutes prep
20 minutes waiting to get in oven
30 minutes in oven
40 minutes in freezer
5 minutes to slice
Is this recipe dairy-free, gluten-free, etc?
Absolutely! No dairy or gluten here. It’s also egg-free and nut-free. Practically anyone with allergies could safely eat this chicken lunch meat.
Will my kids eat it?
That’s a good question that I wouldn’t be able to answer. Try it and see. If they don’t like it, you really don’t have to go back to buying lunch meat. Give it time and they will either get used to it or you can try a different kind of meat. I would keep trying because if feeding your family a nutrient-dense diet is important enough to you, you will figure it out.
Do I have to use fresh garlic?
This is a recipe you can definitely tweak to your taste. If you don’t have fresh garlic on hand, try garlic powder. Add onions or onion powder if you like. If the lemon taste turns you off, leave it out. In other words, make it your own.

How long will this lunch meat last?
Store-bought lunch meat has a lot of preservatives and can last more than a week in the fridge. But this lunch meat can only be stored for 3-5 days since there are no preservatives.
Another great thing about this recipe is that if you don’t think you will eat it all before it goes bad, you can freeze it. Just thaw it for a few hours before you want to use it.
How do you recommend eating this lunch meat?
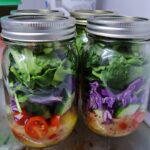
You can serve homemade chicken lunch meat on sandwiches or with rice and raw veggies for a quick lunch. You can also dice it up if you don’t need it all and use it in any recipe that calls for diced chicken.

Homemade Chicken Lunch Meat
Ingredients
- 2 boneless, skinless chicken breasts about 2 lbs
- 3 cloves garlic sliced
- 1 tsp oregano or other favorite seasoning/herb
- 1 tsp lemon zest
- 1 Tbsp lemon juice
- 2 Tbsp avocado oil or other cooking fat, melted if needed
- 1 tsp salt or to taste
- 1/2 tsp black pepper or to taste
Instructions
-
Preheat oven to 375F. In an 8x8 pyrex dish, or similar, place the chicken breasts. Add the garlic, oregano, lemon zest, lemon juice, avocado oil, salt, and pepper on top. With some tongs, flip the chicken and move it around so that all the ingredients are coating the chicken. Allow the chicken to sit for about 20 minutes before placing it into the preheated oven.
-
Bake for 30 minutes or check the temperature with a meat thermometer and remove when the chicken reaches an internal temperature of 165F. If you cut into the chicken and the juices run clear then it is fully cooked.
-
Let the chicken cool for at least 20 minutes.
-
Cover and place into the fridge for a few hours until completely chilled. You can also put it in the freezer for about 40 minutes if you are in a hurry. You need it to be quite cold in order to slice it nicely for sandwiches.
-
Remove from the fridge and, using a very sharp knife, slice the chicken against the grain.
Recipe Notes
This chicken can be kept in an airtight container in the fridge for up to 5 days. Alternatively, you can freeze it for at least 3 months.
Recipe slightly adapted from The Nourishing Gourmet.
Now, Let’s Piece Out a Chicken for the Biggest Bang for Your Buck
I mentioned above that if you buy a whole chicken and piece it out yourself, you will be saving the most money of all on your lunch meat.
It does take a bit of practice to part out a whole chicken, but once you know how to do it, it’s quite easy and can save you a lot of money, not just on lunch meat, but on all kinds of chicken cuts.
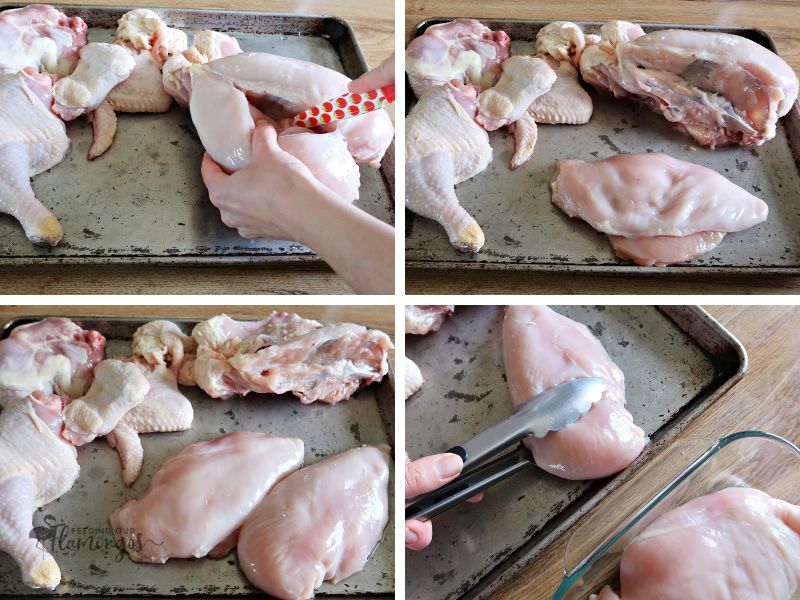
Start by removing the drumsticks, thighs, and wings from the sides of the chicken. I highly recommend watching this YouTube video to learn how to do this. It’s very easy to follow and will help you become confident.
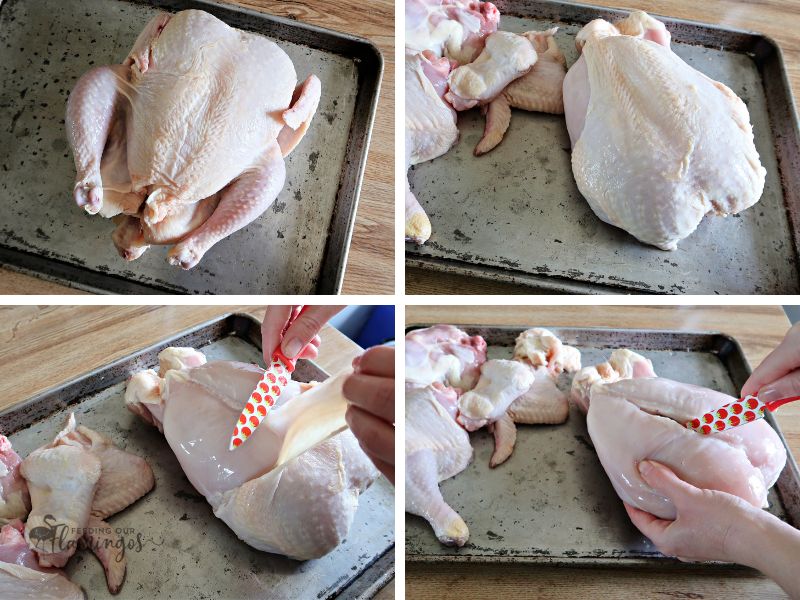
Then you want to remove the skin from the breast. Finally, just cut right along either side of the spine to cut the breast away. Now you’re ready to make your own lunch meat!
It’s a no brainer to make your own lunch meat, wouldn’t you say?

Related Posts


- Versatile and Flavorful Pumpkin Chicken Soup - 01.03.26
- Easy Instant Pot Bone Broth Recipe - 09.20.25
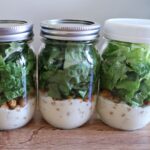
- Healthy Make-Ahead Tomato Onion Salad Jars - 07.11.25
Leave a Reply