
Disclaimer: Oriental Trading sent me the product in this post to review. All opinions are 100% mine.
This year for Christmas, my kids will be giving their grandparents adorable photo ornaments. I’m probably crazy for posting this just a few days before Christmas, but maybe you can buy the ornaments (I got mine from Oriental Trading) right after Christmas and get them cheaper! (Don’t forget to shop through Ebates* (referral link) to get some cashback, too!)
Psst! If you’ve ever wanted to know the real names of my kids (I use pseudonyms for them on the blog), this is the post to find out. I won’t be typing them out, but they’ll be in the pictures. 🙂
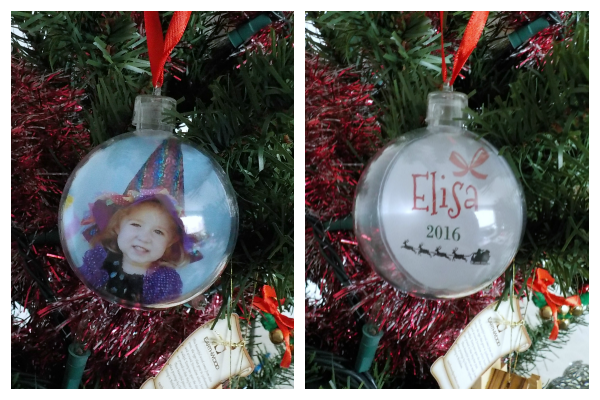
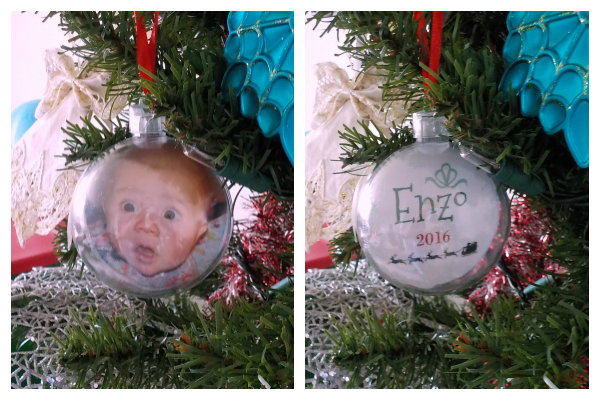
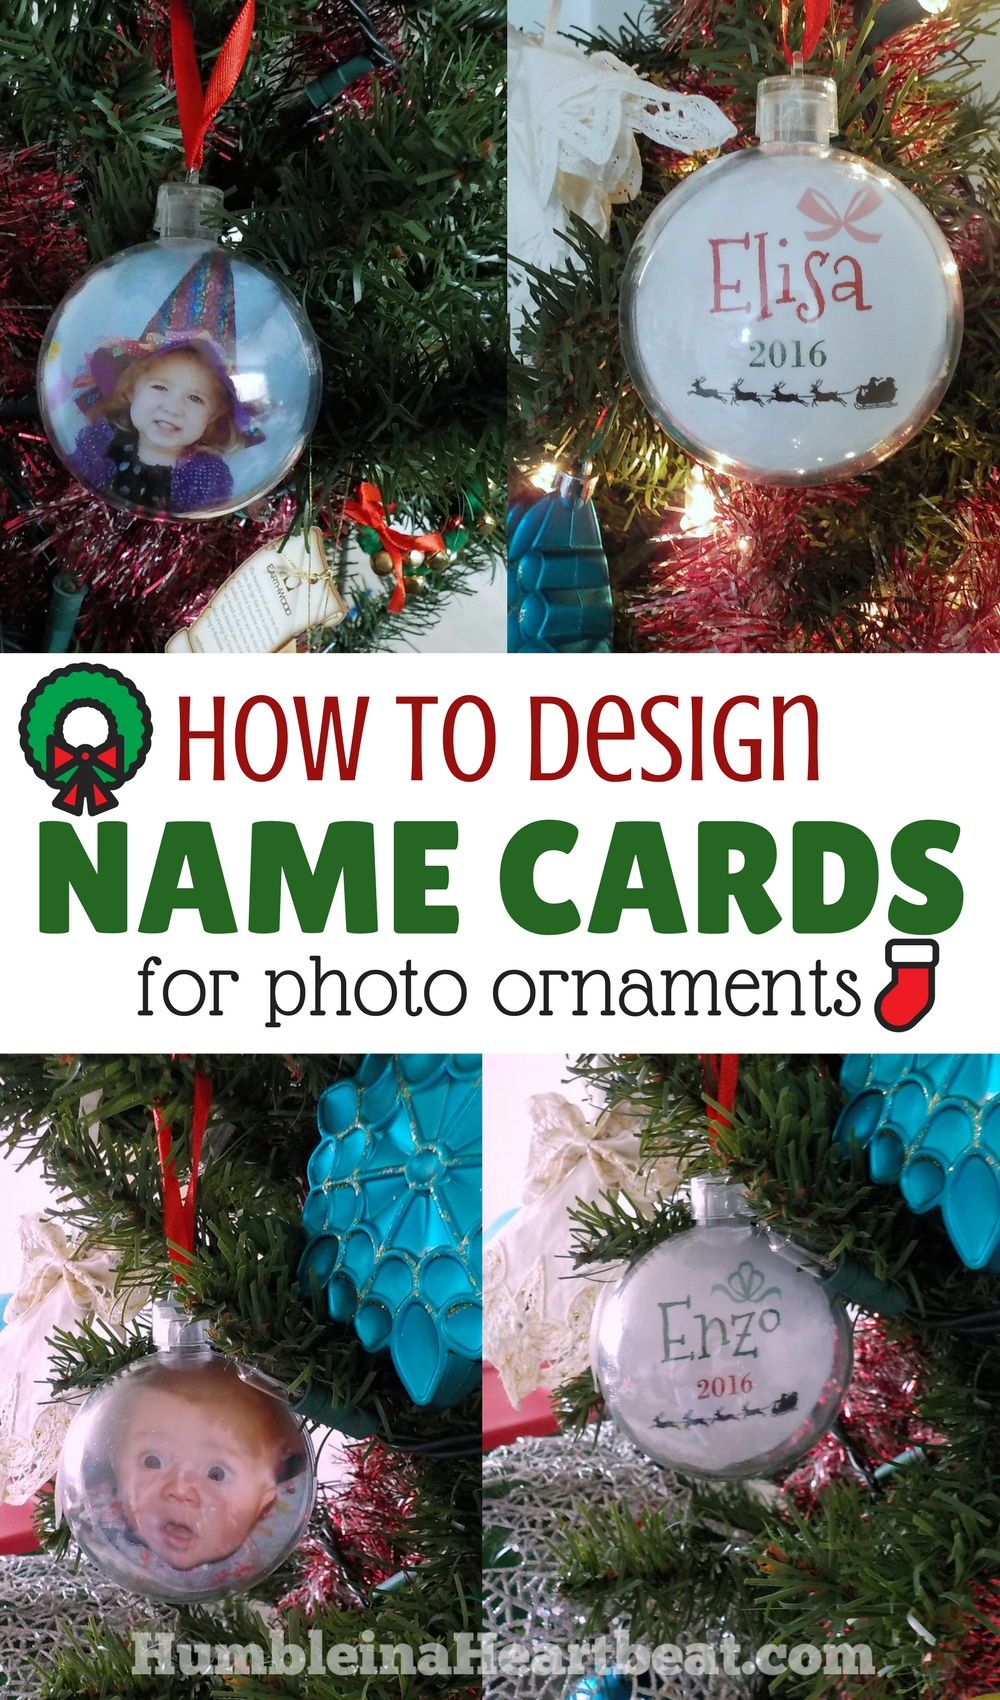 Instead of doing a tutorial on how to make photo ornaments (it’s actually fairly self-explanatory), I thought I would share with you how to make name cards to put in the ornaments. In each ornament, I put a picture of my child with a name card right behind it.
How to Design Name Cards for Photo Ornaments
I used PicMonkey to make the name cards, but you can use any photo editing software you are comfortable with.
Here’s how to make the name cards:
Go to PicMonkey
Choose “Design” at the top. On the left side, under “Basic Edits” choose “Resize” and type 1200 in the first box. If the “Keep proportions” box is checked, the second box will automatically change to 1200 as well. You want the picture to be 1200×1200 pixels because that translates to 4×4 inches. The ornaments I got are 2 ¾ inch circles, so I needed to print out something that was at least 3×3 inches. So why didn’t I make each picture 3×3 inches? Because I don’t know where you can order 3×3 inch prints (if you are printing them from home, you can totally do your pictures 3×3 inches). I ordered my prints from Snapfish and they let you order 4×4 inch pictures.
Add the Name and Year
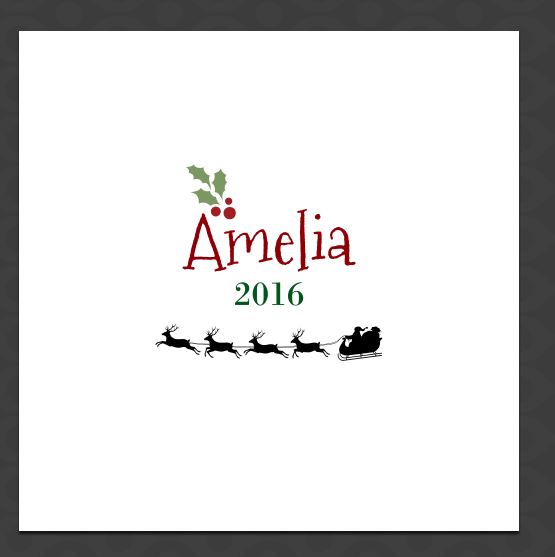
Now you can use the “Text” feature (found on the very left hand side of the screen) and type the name you’d like. Change the font, size, color, and even add some “effects” found in the “text” box that pops up when you choose to add text. I used the font “Mountains of Christmas” for the names and the font “Bodoni XT” for the year.
Add Embellishments
To make the name cards really cute, add some embellishments found under “Themes” on the left hand side. I chose “Santa Land” and used Santa and his reindeer as well as bows to make mine really cute.
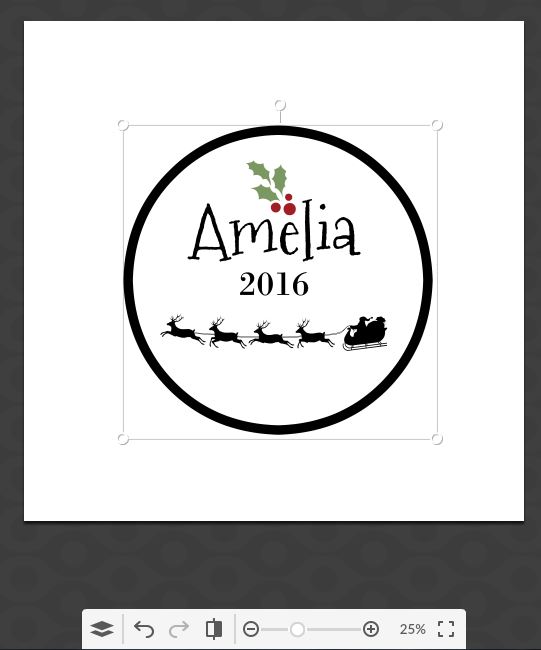
Make sure that your text and anything else you are adding does not fill up your 4×4 inch square. Pretend like you have a 2 ¾ inch circle to work with. You can add a circle to your square and work in that circle if you want. Below, you can see I have added a circle to the name card temporarily. At 25% view, the square is less than 5 ½ inches across. The circle is 3 ¼ inches across. I am fairly certain that if you stay within a 3 ¼ inch circle at 25% view on PicMonkey, you should be a-okay. When you are ready to save the picture to your computer, just delete the circle.
When you are done, your name card should look something like this.
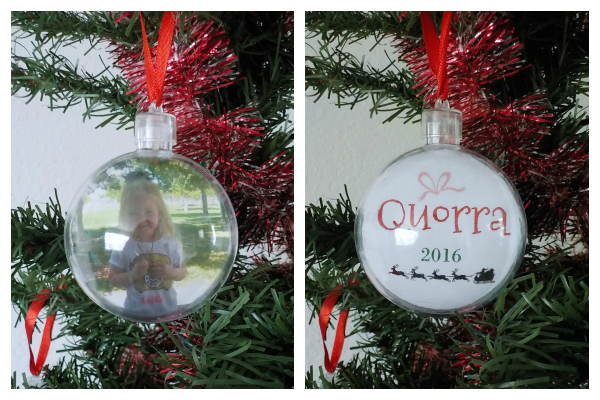
Then you can upload your finished name cards to Shutterfly and order 4×4 prints. Be sure to order your pictures for the ornaments in 4×4 prints as well, and keep the face you want to use within a 2 ¾ inch circle.
These are how my own kids’ ornaments turned out:
I hope you have a very Merry Christmas!

- Versatile and Flavorful Pumpkin Chicken Soup - 01.03.26
- Easy Instant Pot Bone Broth Recipe - 09.20.25
- Healthy Make-Ahead Tomato Onion Salad Jars - 07.11.25
Leave a Reply