Since my daughters are still so young, I have yet to receive a real gift from them for Mother’s Day. I truly don’t mind because most gifts just add clutter. So this year I’m in Grandmother’s Day thinking mode, and I wanted to come up with a really beautiful gift for both grandmas without spending much and still being sentimental and all that jazz.
I think I did it. You’re gonna be blown away by just how easy it is to create this heartfelt photo gift.
Disclosure: This post contains affiliate links (I’ve put a * by any link that is an affiliate link). If you click on one of these links and you make a purchase, I will receive a small commission from your purchase. Thank you for supporting Humble in a Heartbeat!
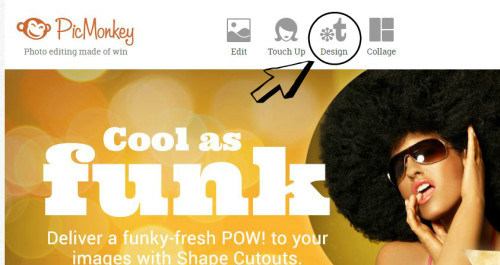
Go to PicMonkey* and click on “Design.”
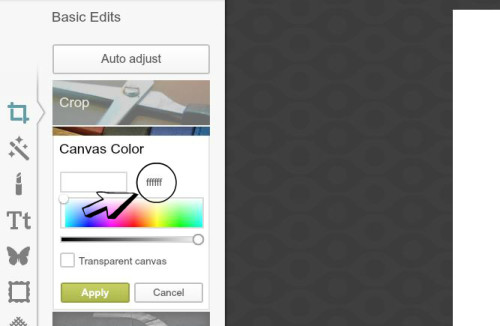
Now make sure to choose a canvas color. The default is white, which will be just fine. Black would be another great choice.
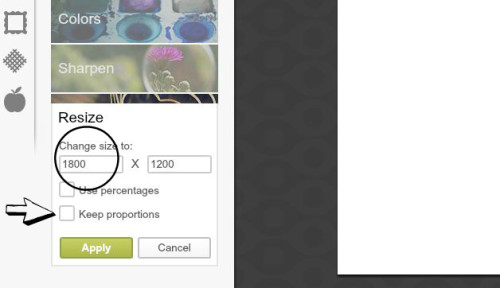
Use this PicMonkey guide to printing your pictures to make the correct canvas size. I chose 1800×1200 because I was printing off a 4×6 picture. Uncheck “Keep proportions” so you can change both boxes.
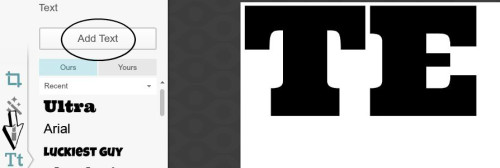
Go to the very left navigation menu and choose “Tt” in order to add text. You can choose whatever font you’d like, but, for the purpose of this photo gift, “Ultra” might be the best one since it is bold and will allow more of the picture to show through. You’ll want the words to be black if you chose white and white if you chose black.
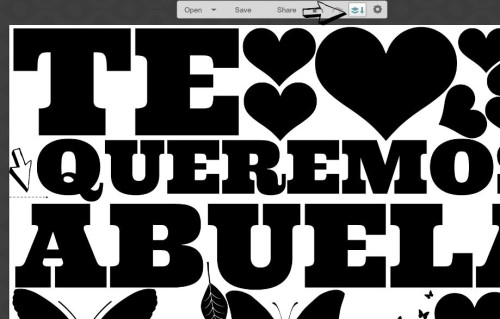
Now choose the butterfly in the left navigation menu to add shapes. I would add as many shapes as you can to fill in the canvas. The more words and shapes you have, the better, so you can see the picture come through more.
I wish I had known when I made mine that you should leave some white space on the perimeter of the photo. When it prints, it will be pretty close to the edge, and if you want to frame it, you might just lose more of the picture.
Now you want to click on “merge layers” on the top navigation menu. Once you click this, you can’t change any of the text or shapes you’ve added thus far.
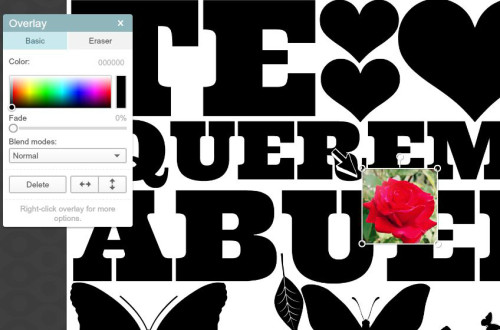
Go to the butterfly again on the left navigation menu and click on “Your Own” at the top of the second menu. Find a picture that you’d like to show up through your word art and click “Open.”
Drag the corners of the picture to resize it.
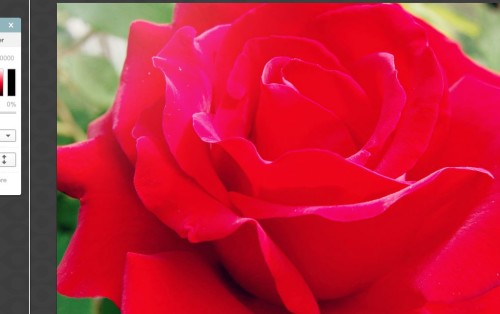
Fill the entire canvas so it will be behind all the words and shapes you have added.
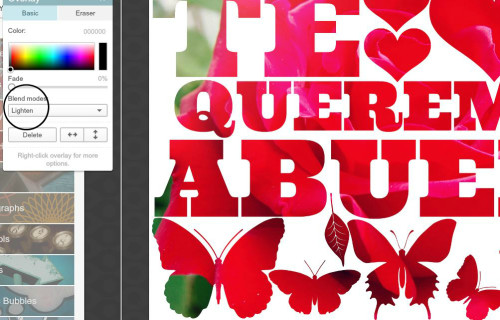
Now use the blend mode, “Lighten,” to send the picture behind the shapes and words.
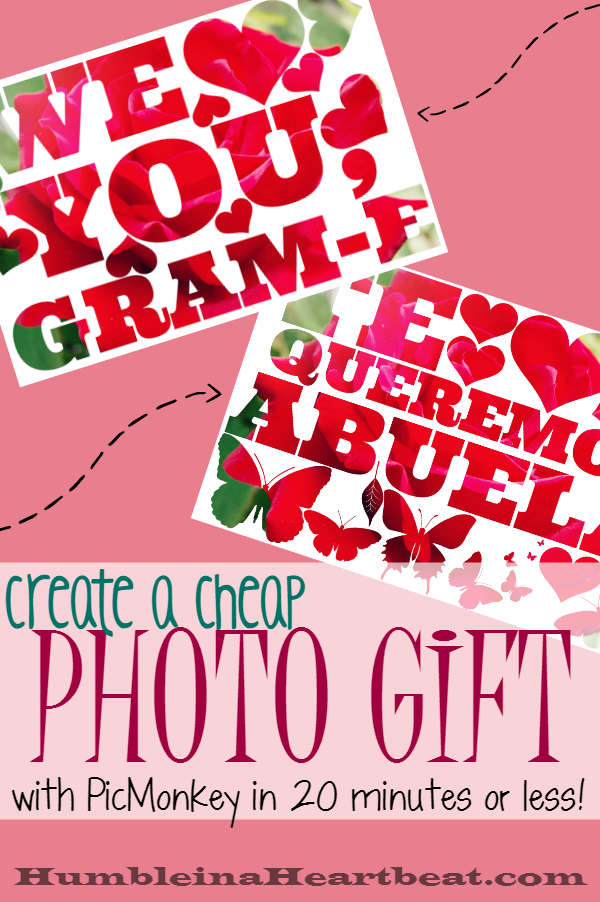
And here is the finished text mask in PicMonkey!
I made some word art for both my own mom and my mother-in-law for Mother’s Day. I printed them off as 4×6 photos and printed off two pictures of my daughters to put in a frame with 3 openings. I sent the photos to Target to pickup because I knew I was also going to look for a picture frame there.

Do you like giving photo gifts?
If you enjoyed this post, please sign-up to receive my weekly newsletter. No spam here, and you have access to all my printables that are exclusively for members!




Leave a Reply